Search the Community
Showing results for tags 'gwr'.
Found 7 results
-
 This is my MOC of Great Western Railway (GWR) number 5909 'Newton Hall', a 4-6-0 'Hall' class steam engine, based on the real loco with the same name / number that was built in June 1931. (Sadly, the real 5909 no longer exists, having been scraped in July 1962 after a working life of just over 31 years. ) My LEGO version of 5909 is basically a recolor / MOD of my model of the Hogwarts Express loco - 5972 Olton Hall. The MOC is a hodgepodge of different Hogwarts Express sets and ideas I've had over the years... you might be able to spot some of the sets I used as inspiration. The rear of the loco. The middle axle of the tender slides back and forth to go over switches and curves. For those wondering, I chose the number 5909 because I had 99% of the numbers already - I had everything except a single number 5, which is why it took a while to complete this loco. Thoughts?
 -
Hi there ! I’m back again to present another train. I briefly mentioned it when I showcased my Flying Scotsman, and here it is now: the Small Prairie. This locomotive was operated by the GWR (Great Western Railway) (yes, another British one !) throughout the first half of the 20th century. First of all, I produced building instructions for all of these if you’re interested. Small Prairie instructions: https://rebrickable.com/mocs/MOC-251026/Sebulba56/gwr-small-prairie/#details French‑style flatcar (Free): https://rebrickable.com/mocs/MOC-248565/Sebulba56/french-style-flatcar-wagon/#details American‑style flatcar (Free): https://rebrickable.com/mocs/MOC-250918/Sebulba56/american-style-flatcar-wagon/#details It’s a tank engine, particularly useful in situations where you need to run in both directions without turning the locomotive around. This one is among the larger tank engines, with a 2‑6‑2 wheel configuration. Below is a photo of the real engine, followed by my MOC. For my LEGO reproduction, I decided to go with an 8‑stud-wide build (unlike my Flying Scotsman). The main reason is technical: I wanted to fit all the electronics required for propulsion inside the locomotive. Aesthetically, this scale also allows for a more accurate and detailed model. It was a real challenge to cram the huge Powered Up hub and the L‑motor inside without ruining the overall look. I had to design the whole structure around these two components, which actually ended up playing structural roles: The motor supports the boiler and provides the half‑plate offset needed for a clean connection between the boiler and the side tanks. The hub is anchored inside the cab and helps keep it stable. This design choice does, however, come with two major drawbacks: Accessing the electronics is particularly complicated. That is pretty annoying when you need to replace the hub batteries. It’s impossible to add any cab interior details, since the hub takes up all the space. In the end, despite these inconveniences, I think this design approach is quite relevant. The loco runs very well and has plenty of power thanks to the significant weight on the driving wheels. Its compact and well‑balanced shape allows it to handle tight LEGO curves smoothly. It can therefore pull fairly long and heavy trains without much trouble. I posted some videos of it in action on my Instagram (@sebulba_creations) if you're interested. I also took the opportunity to build two small wagons to go with it. One is in a rather French style (the two‑axle one), and the other more American (the one with bogies). Both can carry a variety of loads thanks to their configurations. The French one even has folding sides, making it suitable for transporting bulk materials. As for what’s next, a BR Mk1 coach in white/dark blue livery to go with the Small Prairie is coming soon : I’m currently waiting for my Bricklink orders. The Shinkansen project is also still ongoing; I’m making steady progress. I’ve been experimenting a lot with the various slopes and wedges released in recent years, and I think I’m finally on the right track (a glimpse of the WIP down below). That’s it for me, see you next time !
-
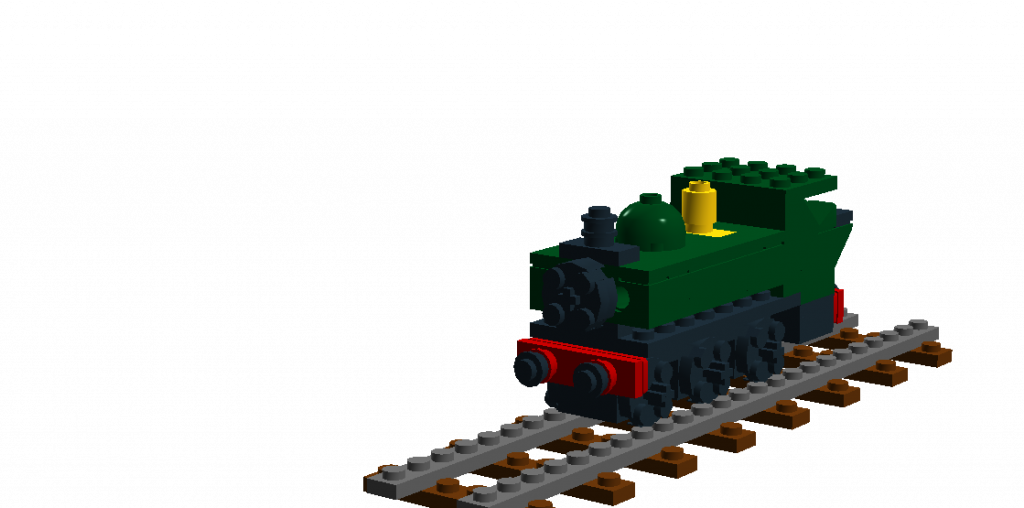
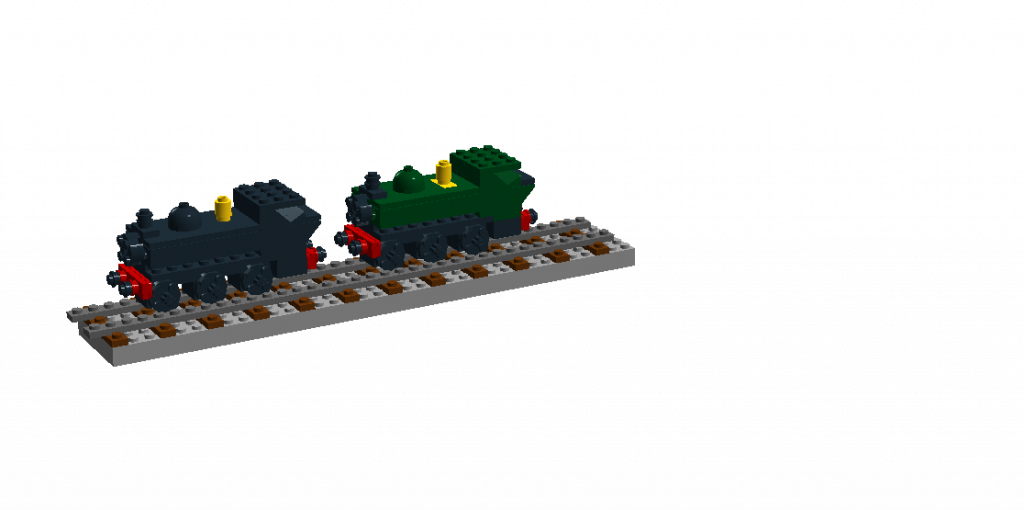
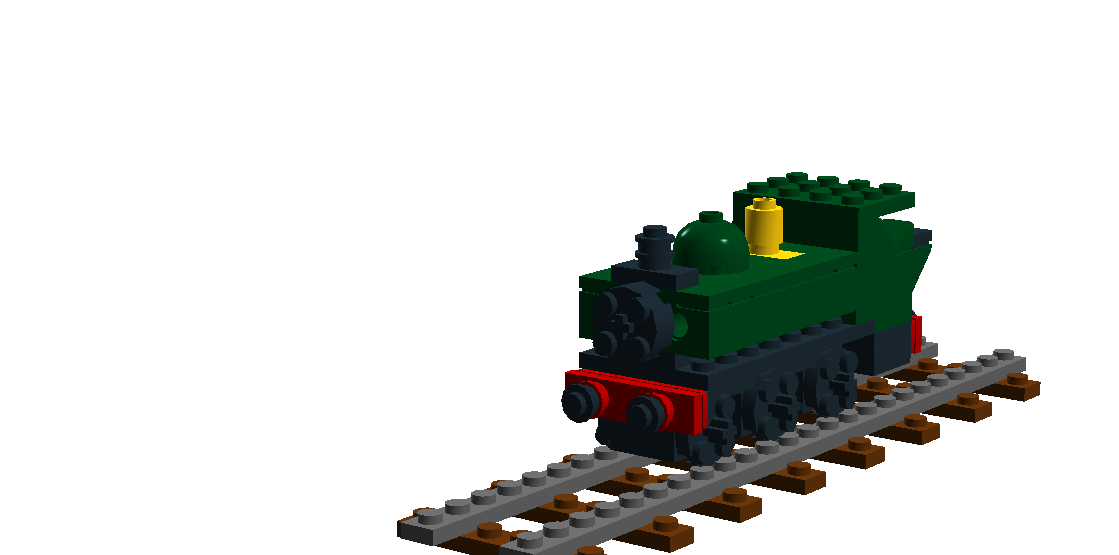
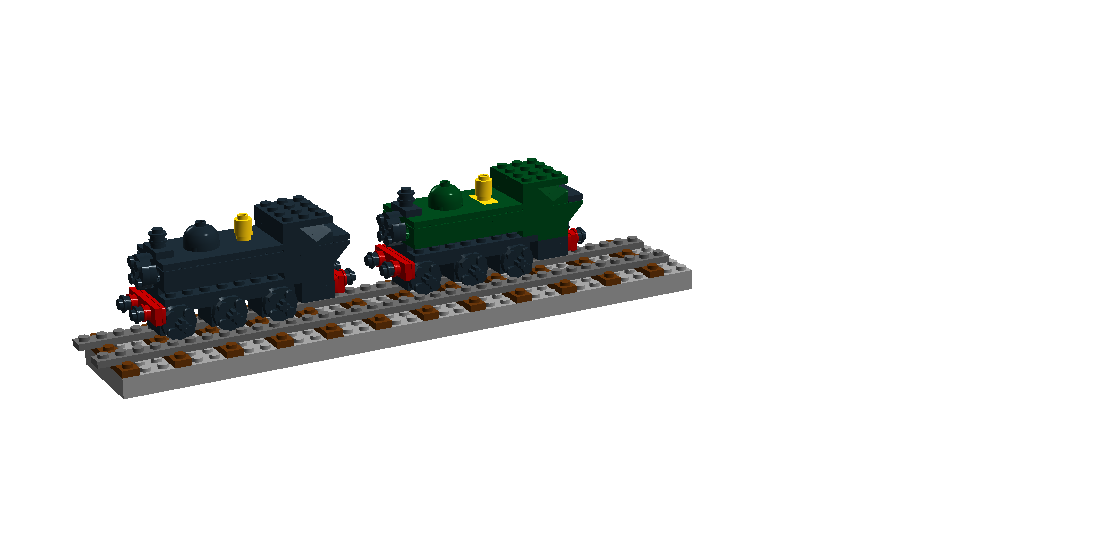
Hi guys. I'm quite new to Eurobricks and this is my first MOC. I'm from Britain so have done a quite recognisable Great Western Railway pannier tank. I've experimented with 2 liveries a British Rail black (post 1948) and GWR green (pre 1948) I have never used LDD that much so any hints are tips will be appreciated. Thanks
-
Hi Guys. After doing my Pannier tank engine in 4 stud scale I decided to put it in some context with an Auto coach and 2 GWR carriages at a typical Branchline station. The layout is 12x4 large (16*16) plates in size (or 184*64 studs if you cant be bothered to do some maths). The hardest part was trying to get the windows on the Autocoach but I think I have done the best I could do at this scale. Flikr Album
-
It's about time I posted this, I only built it a year ago... The Pannier Tanks were the Great Western Railway's most prominent 0-6-0 tank engines. With the water tanks mounted to the boiler sides rather than the frames, easy access to the inside motion was possible, whilst keeping the centre of gravity lower than on a saddle tank. The design proved successful; these ubiquitous locos could be found anywhere from GWR shunting yards to branchlines and subsidary routes, and in their later years many were used to bank heavy trains up the notorious Lickey Incline. They are also possibly my favourite British 0-6-0, primarily because my first OO gauge model was of one. This model is my second attempt at this loco in real bricks, but the 3rd or 4th digital revision. The first can be seen in this old topic, about 1/4 down. Whilst that model was not terrible, the unusual motor placement produced... interesting running. I've had constant trouble with designing robust, powerful gear trains, not helped by the fact I only have access to m-motors. For this new version I considered using the train motor; whilst this is economical on space and eliminates the need for a gear train, it also runs like a rocket, more so when given larger diameter steam driver wheels. The opposite way was to keep the m-motor but introduce a worm gear, which increases the model's power but at the cost of speed. I decided I'd have a go. This model therefore uses a battery box in the boiler/tank, as low and far forwards as possible; a receiver just behind it in the firebox; and an m-motor, vertical but low in the middle of the cab. It's output is directly onto a worm gear, which meshes with a pinion on the rear axle. In the WIP picture below, the running boards and wheel splashers have been added to the basic chassis, ready for the tanks and cab built over it all. For more pictures, here's the bricksafe folder: https://bricksafe.com/pages/Collet22/gwr-pannier-tank-v2. It also contains the .lxf file, which features a possible alternative gear arrangement I haven't tried, using the newer worm gear. And here she is complete, basking in last August's sunshine: So, what's the result of all this? The model has turned out to be a reliable, powerful... snail. Here she is running crawling along, with a quick BR 20-ton Brake Van "in need of restoration" (i.e. built from what I had to hand!): Overall then; a successful loco, and well suited to me given the diminutive size of my "layout". I'm sure the slow speed doesn't suit everyone, but if you need a powerful shunter that can cope with poor track, heavy loads and more, this mechanism has you covered. And as for this loco in particular? She didn't last long in this form. By December I had decided she was too slow, and so switched the PF components into a model of an "Autocoach" (A single carriage with an extra drivers cab at the non-loco end). Nearly a year on the pannier still survives, but only as a "dead" loco for now. Thanks for reading!
-
 Good evening, everyone, Since I promised you in the last topic to design more international models besides german models, today I would like to present you the model of the "Hall-Class 4900" of the "Great Western Railway" from Great Britain. The "Hall class 4900" were tender locomotives, which were built between 1924 and 1943. A total of 259 units were built and the locomotives were used for passenger and freight traffic. The locomotive with the railway number 5972 "Olton Hall" achieved special fame. It is the locomotive shown in the Harry Potter movies, which was specially repainted for this in the well-known red coloring. The model consists of approx. 1090 parts, is approx. 66 studs long and about 10 studs wide. A Power-Functions L-motor can be installed in the boiler. The IR-receiver and the battery box find comfortably place in the large tender. Most of the decals or printed components correspond to the original LEGO parts. Furthermore, the model is equipped with numerous striking details, such as the piping, the chassis or the detailed cabin. This model is also a little bit of a premiere, because for the first time not only LEGO standard components are used, but also railway wheels in XL and M by Big Ben Bricks. I also tried the Bricklink Part-Designer for the first time. Currently the manual is available in two different versions. One as GWR "Hall-Class 4900" in dark green and one as "Hogwarts Express" in known red. I hope that you like this version in particular, because there are already some versions, even directly from LEGO. Praise and criticism are very welcome. Kind regards Martin Further pictures in the flickr-folder or on our homepage
 -
After beginning my Lego train building career with a large engine, I had a real yearning to create a smaller engine. I originally had in mind to either build something LMS because I really like the dark red colour elements or another GWR loco (just because their the best). I hadn't until recently seen the GWR 5700 series in the maroon livery they wore after being bought by London Transport in the 50s. As soon as I saw them I thought it was pretty inevitable that I was going to try to make one from Lego sooner rather than later: I had a pop at building in 7 wide, which seems to be what everyone suggests for british loading gauges and it seems to have worked out ok, although the boiler plate is actually 6 wide plus door rails. You'll notice that the boiler is a little on the short and fat side; that's because I wanted to keep it as in-scale as possible with my King class. I'm quite happy with how the boiler looks anyway. This is where I'm at after two bricklink orders. I don't use LDD so I just try to work out in my head and on paper what I'm going to need and then see where that gets me. The parts that I know I need to change are: Make the dome in dark red (I couldn't get the parts I needed from either seller from my first orders) Improve the buffer bars and add some kind of coupling. Squeeze in a little more detail. If anyone has any specific suggestions for how it could be improved, I'd be more than happy to hear them. I would really like to add a London Transport decal to the side of the boiler. Does anyone know the best way to go about getting clear vinyl stickers printed? Thanks.


.thumb.jpg.19742e89790e473128572b8d3969c36d.jpg)