raised
-
Posts
156 -
Joined
-
Last visited
Content Type
Profiles
Forums
Gallery
Everything posted by raised
-

Announcing OcTRAINber, the first contest by Brick Model Railroader!
raised replied to raised's topic in LEGO Train Tech
Only new or maybe unpublished work that fits the rules. In the end it's a building contest to activate people to build ;) -
Announcing OcTRAINber, the first contest by Brick Model Railroader!
raised replied to raised's topic in LEGO Train Tech
As a follow-up to this reaction: Yes, we are going to accept digital builds as well! Indeed in a different category (we still need to sort out how we will be doing this price-wise, because yes, there will be prices!) but we will accept them! Also, the official announcement including the rules of the contest will be up this weekend, both on BMR and here on Train Tech! -
Announcing OcTRAINber, the first contest by Brick Model Railroader!
raised replied to raised's topic in LEGO Train Tech
We are thinking about it, but as a seperate category, ie. not in the main category. Not sure as of yet however. -
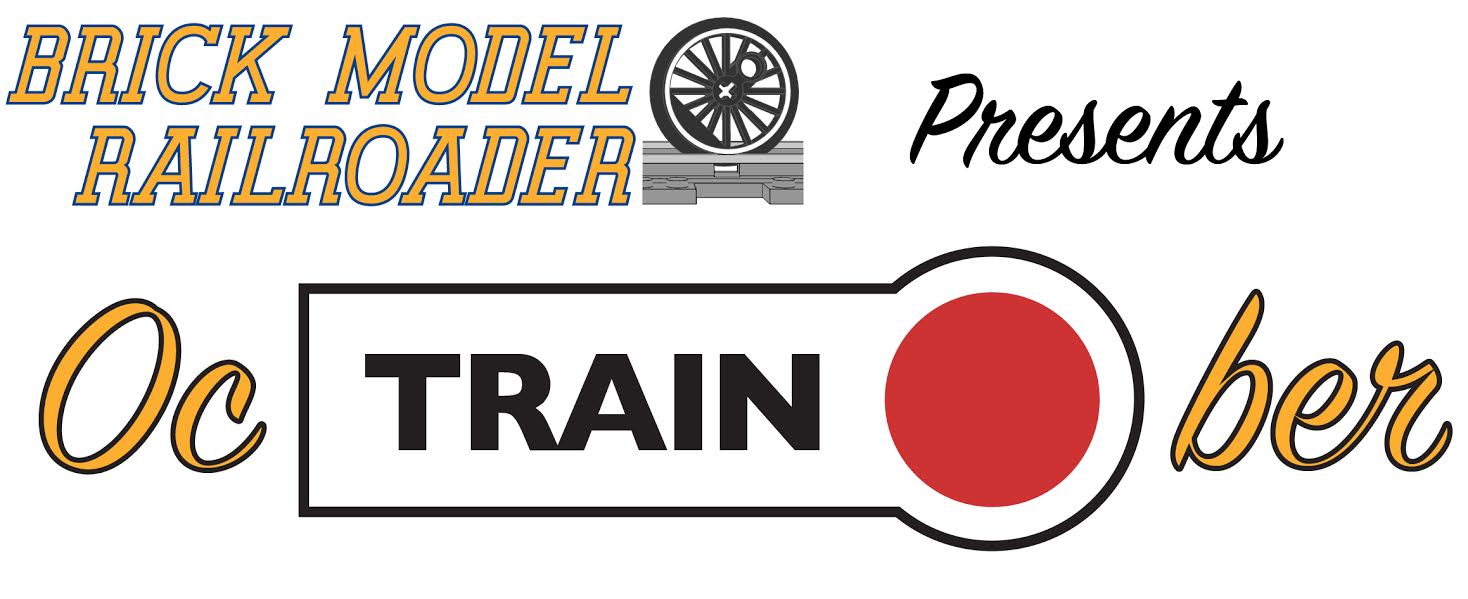
Hi all, You might have already seen it on the blogpost, but Brick Model Railroader is going to organize their first building contest. As we speak the rules are still being fleshed out, so this is just a pre-announcement, but do keep October blocked in your agenda and start stocking up on bricks, cause the contest will be all about 'the longer, the better'. The official annoucement is below (or you can just click on this link for the whole topic): Also, no proper contest is without its logo, so here it is as well: Keep you eyes open for more details, October 1st we will start and I'm for sure looking forward :)

-
They actually came up with a diversification of versions; now it's easier than ever to choose the type of PFx Brick you want. I love the versatility of these guys.
-
What I really love about the PFx Brick compared to SBrick and BuWhizz is it's versatility and the way how the whole thing is thought through, definately for us trainheads. The idea of an infinite number of speedsteps is just awesome, the same as the fact that you can adjust your speedcurve and have realistic acceleration. It will just make running trains SO much better. What bought me over were the two promo videos they posted about how to integrate the PFx Brick into your own trai: Oh and don't forget bluetooth AND IR control possibilities! Simply said PFx Brick will be the closest we will ever get to DCC without modding our engines. I really hope this gets funded!
-
Kickstarter: ME Models Tracks for both metal and ABS only track pieces
raised replied to JopieK's topic in LEGO Train Tech
This is the update they posted: I actually missed the kickstarter when they first launched it so in the end I had to rely on BackerKit, and I only ordered PF track, but with me it all went really smooth. -
Maybe the real question isn't what we want per se, but what the larger audience wants. Kickstarters tend to get funded by early adopters, but early adopters don't have to be rabid fans and EB members who build lego trains, it can also be people who just buy their regular lego sets and want something less silly to run their trains on, or even a possibility to lay double track. If you are looking at that target audience, then I would go 100% PF, with 9V as a strechtgoal. Also, seeing the latest update of ME Models and knowing your design skills, I think you should go all-in with those switches. Heck, you could even try just the regular Lego switches but make them stubby and integrate that nifty switch-system into them. I think that would give a far wider appeal, and would also make it possible to get the news out there, outside of the direct Lego Trains community. Cause keep in mind, us crazy Lego Trains fans are a very small minority within the hobby... Btw personally I'd go for just PF. I just love the way how you can individually control trains. My favorite product ever (albeit with crappy usability) is a plastic track piece; the crossover switch. And yes, the IR receiver is crappy, but this can be fixed with aftermarket stuff. Yes, you need batteries, but I like the challenge to include them. and yes you need to integrate motors, but I like it when stuff gets a little bit technical. For the two 1 day shows a year and the one 7 day show, the upkeep in 9V just isn't worth it. Also, most importantly: PF gives you the ability to design your own trucks. And building in 1:45, my trucks are almost never the same size as the official ones. Oh and seeing that I already have the ME Models plastic track and glueing them together seems to work perfectly fine (it's not heresy because the tracks themselves are already aftermarket, so I don't feel bad a single inch when I'm glueing those non-lego parts together), I'd personally also opt a kickstarter with just switches involved, this also being one of the main reasons why I haven't backed the project yet.
-
@PROlego: Sarcasm, one of the better, if dying out, species on the internets.
-
Looks awesome! Regarding matching Lego colours: The Pantone colours of the Peeron Colour Chart have always helped me a lot in matching Lego colours. Everything I got out of my inkjet printer at least looked spot on while using the Pantone numbers. Also, since it's Pantone, a professional printer shoudn't be able to mess this up ;)
-
Building a TRAXX AC2, step 4 by raised, on Flickr Small update :) (Yeah, I need to get rid of that 1x4 plate. But since its a 1x4 plate with only studs on the ends, I need to do some BL to get me a red one. And I'm extremely slow, when it comes to BL.)
-
I know, thats the reason I'm not using the regular O-rings of Lego, but ones from a DIY store. They are a little bit thicker, so that it is possible to put a plate under the axlebrick without it catchting any switches. I just didn't have the correct wheels laying around to show this in the picture (On a side note: these transparent ones I used for this picture aren't even really usefull to begin with: they are BBB wheels without the possibility to secure O-rings at all )
-
Hmm, had not thought of that before. I get more and more the feeling this is the real problem, indeed... I will try the AA batterybox with fully charged batteries, maybe that makes a difference!
-
@jtlan: here a picture of the space I have. It's not that much acutally, and I only have 5 studs in width available because of the way I build the sides. In front of the motors I could create another stud of space, if I remove the 1x4 bricks. Gears by raised, on Flickr
-
True that :) My answer might have been a little short in this sense, so it sounded maybe a bit uptight. Thing is, the lego train motor would indeed solve most of my gearing problems. And yes, lego trains are made out of bricks, and sometimes, they just decide certain sizes and compromizes for you. However, the lego motor is really too short in my opinion. It just looks plain silly when you know the wheels are supposed to stand further from each other. Also, I can always just buy a L or XL motor, if I'm really desperate. So at the moment there is no need for a compromise, just more inventive engineering ;)
-
Too little length, the wheels need to stand 2 more studs apart from each other.
-
Finding technical drawings is always the first step I take before building, in fact. This one could not have been made had it not been for the kidness of the Hungarian State Railways MÁV, who put a high resolution technical drawing of their TRAXX'es online because of a competition for a new special livery. Regarding the skirting: Well, in 1:45 scale, wheels of a TRAXX are a lot bigger than lego train wheels. The difference is in fact that much, that the wheels fit completely, where the real ones would need skirting (actually, BBB M wheels would fit perfect, but I don't like the fact they are spoked, makes no sense for a modern electric loco). So the plan is now to hide the upper part of the lego train wheels, so that it looks like they continue into the skirting. If I would put the skirting lower, so that the lego wheels are actually hidden behind some skirting, the loco would be not high enough on its 'feet'. Thanks, I didn't know those ones before. I have just seen the one MÁV TRAXX which uses curved slopes build sideways (on Brickshelf I guess?) I have to say, I really like the corporate livery MÁV decided to put on their TRAXX'es, imho it looks far better than the MÁV taurus, which has this very lackluster yellow in the front, and a side which is completely blue, without any ribbons or anything like that. The gearing is not that impressive, to be honest. Just a 20 tooth gear stuck onto a 12 tooth gear, and in the loco 2x 12 tooth. I actually suck in gearing. The idea to use this gearing is that at least at all steps of the IR controller, the train will actually run (wasn't the case with my NS 1847 loco, the first 3 steps it just said 'beeeeeeep') and be able to pull some carriages. The negative side is that now it runs terribly slow. So if you guys have any ideas about what to do about this, please let me know :) (I am thinking about using the relatively new L motors, but I don't have any of those for the moment) Haha spot on! I really dislike the black tiles. They WILL be replaced :) I love looking at what other people have build, its always great to see what different people can come up with, even when seeing exactly the same prototype. That's the reason why I love lego so much as a building material. It is also very interesting to see how people look at a model, and how everybody has different ideas about what details are really neccesary to get replicated. For example, I just saw that the SBB Cargo TRAXX you posted, has the handlebars which are situated in the front sloped part of the nose. I would never have thought of including those (although I'm now thinking about it, haha).
-
Since the Dutch Railways decided to finally buy, instead of lease, their TRAXX AC2 loco's for the High Speed Line between Schiphol Airport and Belgium, I decided it was time for me as well to try to build this loco. It is far from finished, but I thought it might be interesting to keep you guys updated nevertheless. So, here are, chronological, the first four "steps" of building a TRAXX AC2! Building a TRAXX AC2, step 1 by raised, on Flickr The main thing I wanted, was to have the curved parts of the nose, which are so much iconic for this design, in flush. This instead of the gradually increasing cheese slopes, which are not in flush. Building a TRAXX AC2, step 2 by raised, on Flickr I did have to accept the fact that the windscreen itself will be made out of tiles, instead of transparent panels. Also, the windscreen will be a bit to big, since in fact its less than 3 plates high. Building a TRAXX AC2, step 2b (failed) by raised, on Flickr The nose looked horrible with those big gaps, so this idea was scrapped. This way however would have given me the chance to work with trans clear panels or bricks, and to better change the height of the windscreen. But yeah, those gaps... Hideous. Building a TRAXX AC2, step 3 by raised, on Flickr Almost unnoticable in the prototype, but a TRAXX has some side paneling, which stick out a little bit. I first tried 0.5 plate offset, but that looked like too much, so now it's 0.25 plate. (The doors on the other hand are 0.25 plate more inside that the rest of the body.) I even managed to hide all the electronics, better than with my previous loco, where I had to put the M motor vertical, instead of the horizontal line I was aiming for. I have to admit I'm not really liking the gap where the nose blends into the roof, but for now this is the best I could come up with at the moment. I hope when its finished, and when I finally find those 2 wide curved slopes in the right colour, it will look better. Trucks are ready as well, but not detailed, so I decided not to include them in the build yet. I'm thinking about using the 20 tooth gear, as shown in the picture, as the iconic brakes (or whatever they are) which are so visible in TRAXX loco's. Not sure yet however.
-
Great stuff! Beautiful way of thinking outside of the box :) Just wondering: did you have to modify any of the PF cables? Out of the pictures it looks like it. But then again, I grew up with 9v and have never had any 12v stuff in my hands, so I could be totally wrong to begin with.
-
OnDrew Hartigan to the rescue! In fact, he has the best tutorial there is to offer for making "stubby"-switches (the ones you just linked to): An awesome powerpoint-presentation.
-
Pickyourownbogie on Flickr has actually made a great Eanos with door rails in LDD. He has not updated his Flickr in almost a year, I still hope he once builds it... https://m.flickr.com/#/photos/88718670@N02/8572986458/ Looks sturdy as well, if you look at the internals: https://m.flickr.com/#/photos/88718670@N02/8570790505/
-
The intriguing question for me here is of course: Were any nice new designs build out of this?
-
Great build, love the render. So much better than those LDD-exports everybody seems to put online these days. Good thinking with the chishels and screwdrivers on the front to represent the hoses. Just wondering: Why did you use on the roof at some places the 1x6 curves, and sometimes the cheese slopes and 4x1 curves?
-
Being a student, I didn't want to invest huge sums of money on blue door rails. Also, the moment I saw the 2x4 tiles were released in blue, I knew I wanted to try building with them. Third, this way made it easier to use those headlight bricks as greebles on the sides. Regarding the post scriptum: Agree, those 1x2x1 brackets could have been used as well for sure. Actually didn't even properly think of it. I just had tons of headlight bricks, and in Prague there was a store where I could buy even more of them for dirt cheap (insert the student-argument again), so no reason to invest in huge quantities of those brackets. But I just realized I nowadays have bigger quantities of those brackets, so I will do some measurement regarding which is heavier and more sturdy. I actually think the brackets might be less heavy and more stable than the headlight bricks, even more when using the 2x2x1 brackets. Time to bring out the scale!
-
VI. TEMOFESZT - MLVK LEGO Layout - Discussion
raised replied to Ashi Valkoinen's topic in LEGO Train Tech
Interesting, thanks for sharing. Was already wondering how you were running that layout after I saw the pics on BS. I love point-to-point operations, since they make far more sense out of a prototype-perspective. It is however, as you yourself indicate, far more time consuming. I must say, my first event still has not been, as long as my long term project (a proper layout) is not nearly finished, I'm not going to exhibit anything anywhere. But, if I ever will go, the plan is for me as well a point-to-point design. For the same reason as you indicate: realistic traffic. (Something a lot of modeltrainheads also tend to do, or at least, more and more are trying, that's at least what I see at model railway conventions.) Or, if there is more space, a continuous layout with a "hidden" fiddle yard. A lot of inspiration for me comes from the Small Layouts Scrapbook (at carendt.us) and Gauge 0 websites. /edit: Regarding point-to-point movement I think APM Paper Mill 1972, a layout by Timothy Gould and Mike Pianta is also quite interesting: APM mill - Overview by scruffulous, on Flickr Also worth mentioning are their previous builds, Ararat 1972 and Eslmore 1972, even though they are both continuous, they show the idea of a "hidden" fiddle yard. Same goes btw for Corfe Castle Station, a display by Carl Greatrix, his solution to the "prototype" problems is mainly the us of DCC to control the trains. Same goes for Farham Junction by Michael Gale, he uses DCC, but next to this also has a lot of switches in his layout, making a lot of prototypical movement possible next to the continuous movements.