

Jonas
-
Posts
263 -
Joined
-
Last visited
Content Type
Profiles
Forums
Gallery
Everything posted by Jonas
-
Thanks, Berthil, for your detailed explanation and for the video. By the way, I just noticed that the LEGO rechargable battery box has been removed from their shop. It seems that Chinese shops will be the only option for those interested. You mention your new version of the passing module. From the video it is hard to find which changes you have made, mainly because your module is in black, which complicates identification of building components. Is there any link to details of your new design?
-
To Berthil: I looked at your instructions and was amazed by the aesthetics of your design as well as by the fine features of the stud.io instructions. I like namely the possibilities to zoom and rotate the assemblies. It is perfect! What are the main advantages of your design, except of the possibility to recharge the battery in place? Is there more space for wires? Is the lower weight better for car riding? What about car stability on non-rail parts of the track? A how reliable is your new design of the gondola (the removable superstructure) mounting, when compared to the original, rather fragile one?
-
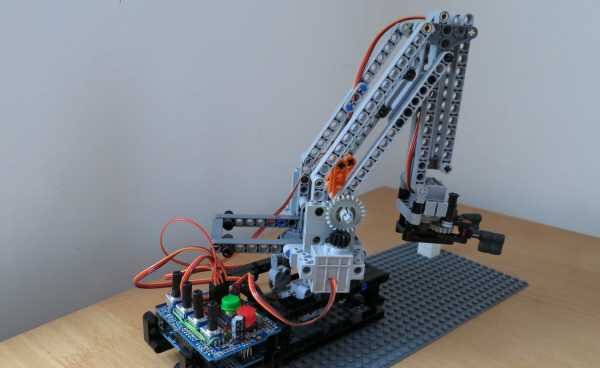
The robot is almost completed. Unfortunately, I am slow in building because of little free time. The control unit is Arduino Uno + my own shield containing 2 control buttons, 4 potentiometers, etc. The robot can be controlled manually (through the pots) or by a program. I hope I will find time to make a video. Anyway, this is your thread. Let us speak about your amazing Walker.
-
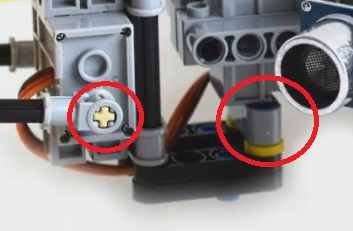
Sorry and again sorry. Even if I have had the servo at home and used it in several modules (as shown in the picture), I NEVER noticed the hole and did not realize its potential.
-
I mean these connections:
-
Hi Oracid. Great design and great video! I appreciate that you reveal most of the construction details and also the program. The latter seems to be pretty compact and nicely structured. You have done a perfect job! I have also bought these Chinese servos, built a small robot controlled by Arduino and I must say they are definitly worth a purchase. Now, after seeing your walker, I regret to have only 4 of them. In your video, I just miss one detail: How did you mount Lego components to the bottom side of the servo?
-
Good idea. I uploaded the photos to Bricksafe. Here is the address: https://bricksafe.com/pages/Jonas/gbc_relay
-
Hi rskamen. Great congratulations to your first GBC project . If you made the Ball Factory run smoothly and reliably, then you have my huge admiration. I myself had spent several months to build and fine-tune the Ball Factory. For me, it was the most challenging Lego Technic build in my life. Yet, I could never say it had run smoothly and reliably. Usually, it used to run no longer than 15 minutes and after that something got wrong. You must be a very very good engineer. I really would like to help you with the Relay module but I have not plans, no instructions, no inventories. When compared to the Ball Factory, this module seemed to me so simple, so that I had no reason to document it. Anyway I found several photos made during the build. If you think this would help you, I can send them to you. Just send me your e-mail.
-
EV3 vs Arduino using RC servos
Jonas replied to oracid's topic in LEGO Technic, Mindstorms, Model Team and Scale Modeling
Nice. Which servo do you use? And what is the load? -
You have done wonderful job, Sariel! You designed something that is cute, compact and mainly playable. (In my eyes, it has a big potential similar to 42065 - Tracked Racer). Moreover, instead of running endless discussions, you decided to let fans and TLG make the final decision. Good luck!
-
It would be nice but ... it is a question of time, material and also space - all what I am missing, now. So, I will be looking to your next achievements. Keep building, mates!
-
Congratulations to you and to the whole developer team headed by Doug. Do you have any video to show us?
-
Using RC servo in Lego environment
Jonas replied to oracid's topic in LEGO Technic, Mindstorms, Model Team and Scale Modeling
I have just discovered and ordered this. The servo has Lego compatible cross-axle as well as studs and holes. I plan to test it in some low-torque applications controlled by Arduino. -
To: Frequenzberater Try to look at your SPAM/Trash bins. I found my instructions there.
-
Excellent job done, Doug72, Berthil and MajklSpajkl! I like to return to this thread to read and admire great progress you have done. Unfortunately, I have dismantled my modules several months ago. It was before Doug72 came with his crucial improvements. Now, when I see all your achievements, I regret that I had given up too early. Berthil, your design is wonderful. I like your sense for technical aesthetics. Your versions of the lift, rotary dumper and power station are excellent. I am looking forward to your (video) Pictures from the exhibition.
-
There is a separate video on this module in my channel. Anyway, the module is rather simple compared to Akiyuki's original part.
-
Unfortunately, they do not exist.
-
You did not give up and you succeeded, eventually. Congratulations. Moreover, your solution seems to be more robust that the original.
-
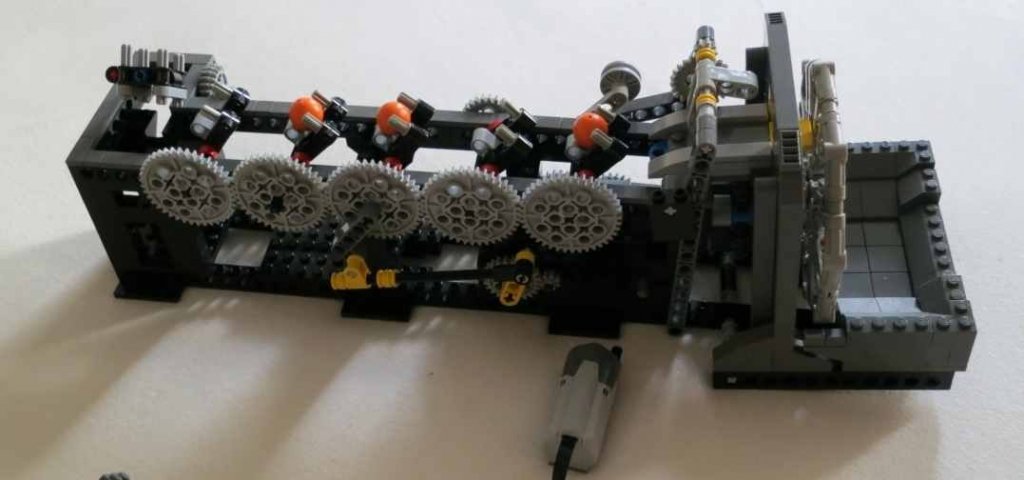
OK. I am also adding some information about my attempts in this field. I have built a simple Turntable module compatible with the Akiyuki train system. Is is based on the idea presented by Yoshihito Isogawa. An LXF file and instructions are available here: https://bricksafe.com/pages/Jonas/train-turntable-module I have also tried to build a smaller version of the Rotary Dumper & Elevator (shown below). Unfortunately, it did not work reliably. The gears often slipped and the complex movement of the rotary system got dissynchronized.
-
Here is the link to Akiyuki's video: and the link to his instructions and system description: http://akiyuki.jp/en/works/1019
-
Good job, Dough72. Berthil: I agree with a separate thread devoted just to Akiyuki's train system.
-
Looks nice. Your system's success rate is much higher than mine. Congratulations! Now, you really must build also the elevator. You do not need to make it as high as Akiyuki did, though. Just high enough to allow the balls to fall down and move to a place where they can be collected.
-
Good luck in your attempt! It is a big challenge to replace Akiyuki's cam mechanism. This clever mechanism plays several important roles: - it fixes the position of the platform during the car arrival and departure, - it stops the rotation of the platform while allowing the trigger mechanism to complete its loading before it fires, - it works as a timer to allow for a short delay between the car arrival and the start the of the rotation.
-
Unfortunately, I have exactly the same experience.
-
I have just noticed your question. It took me some time to learn what you mean by sliding module. If you mean Akiyuki's Passing module then there might be a hint for you: Did you make a half-stud offset when positioning the plate with the gear racks as shown in Akiyuki's instruction?
