-
Content Count
7044 -
Joined
-
Last visited
Posts posted by LuxorV
-
-
Eurobricks Forum member, LEGO customiser and BrickWarriors founder Thrash set sails toward our forums to bring news of his latest new designs: Tricorn, Pirate Coat, Pirate Cutlass, Lantern!
(Click on the images above to join the discussions, or browse the Minifig Customisation Workshop to learn more about the LEGO customisers' world)
-
Please, do not use the MCW to ask for someone to sell you stuff.
Post your requests in the BSTW section, instead.
-
You can find some info on the same topic in this discussion about printing real white on decals (water slide and others).
-
Here's my tree:
 XMas_Tree_2015 by LuxorV, su Flickr
Thanks again to CopMike for keeping this EB tradition alive year after year!

-
Thanks for pointing this out. It would seem quite a few decals by clone killer are missing. I'll fix them asap.
EDIT - Fixed.
-
Good to see you got the prize. Have fun with those figs.

-
Hi mitchlt, and thanks for your interest in these old designs of mine. I don't think I ever saw these decals in actual use, so I can't link you to those.
As for the parts' colours, I think orange for Gordon and blue for G-man, as you said, should work just fine.
Have fun with your project.
-
They already can be found in the following sets:
Oh, I know. I just have a habit of putting under New all the parts released in the year the set comes out. This way, future readers will have a coherent picture of the set in its year of release frame.

-
I believe the 11th doctor's costume is supposed to be this one not the one you linked with the image. In light of this, the minifigure is supremely accurate.
You know, I had the same impression while searching for a reference image, but it looks like the jacket/coat is a bit too long (as long as the purple one, which is definitely a coat). My final guess is they went for the look you linked, but somehow mixed with the coat one.


-
Indeed that may be part of the explanation, but from the way it is built it could have worked with two even length ones (or just one of the longer ones), too. That's why I proposed other/additional purposes.

-
Thanks all for the positive, and informative comments.
I'm glad I could interest you all in this set, which is great in my opinion, and from your statements seems to be appealing to non-Doctor Who fans as well.

-
-
Thanks for your comments, KlodsBrik.
I'm sorry if I mislead you, but there are only two sonic screwdrivers: one for either Smith or Capaldi (I think LEGO designers would expect you to play with just one regeneration at a time), and one extra.
-
Dear Eurobricks Community,
A strange blue box coming from Denmark materialised few days ago at my doorstep, so I took the chance to provide you a review of the upcoming 21304 IDEAS Doctor Who set.
Please enjoy and don't forget to vote and comment.
-

Let me start with a little confession: while I've stumbled upon bits and pieces of the Doctor Who series in the past, I never really watched a full episode until last summer, when a friend of mine managed to convince me.
I started with season one of the 2005 reboot, and was not really thrilled with it. But I kept going, and things got a bit more engaging. Then, after the long drawn 10th Doctor-Rose affair found its conclusion, and Tennant said his final 'I don't want to go.', I found my Doctor. I know Whovians are forever debating about who the best Doctor is, and I do not want to start a debate here. I just love the fact TLG included Matt Smith's 11th Doctor in this set, instead of making it a Capaldi solo one. Smith's incarnation is the most captivating of the reboot, in my opinion, and watching him go around as the Doctor is like watching a fireworks' show, waiting for that moment when the big shot will be fired.
Does the new 21304 Ideas Doctor Who set keep up with these expectation? Let's find out. Geronimo!
Set Info
Theme: LEGO IDEAS
Set name: Doctor Who
Set Number: 21304
Price: US $ 59.99, GB £ 49.99, EUR € 59,99
Pieces: 623
Figures: 4 + 2 brick built Daleks
Year of release: 2015
Build, display and role play with Doctor Who!Construct a stunningly detailed LEGO® version of the iconic TARDIS® and role-play the Doctor’s time-travel adventures! Created by fan-designer Andrew Clark and selected by LEGO Ideas members, this set is based on the BBC’s popular and long-running television series about a Time Lord – the Doctor – exploring the universe in a blue police box. Due to trans-dimensional engineering, the TARDIS is bigger on the inside than the outside and this cool multifunctional set includes the console room that houses all the flight controls. Regenerate the Doctor and defeat the evil Daleks™ and a Weeping Angel with the help of his extraordinary companion Clara. Then close the doors of the TARDIS and launch into another dimension! Includes 4 minifigures with assorted accessory elements: the Eleventh Doctor, the Twelfth Doctor, Clara Oswald and a Weeping Angel, plus 2 Daleks™.
- Includes 4 minifigures with assorted accessory elements: the Eleventh Doctor, the Twelfth Doctor, Clara Oswald and a Weeping Angel, plus 2 Daleks™
- Features an opening TARDIS®, detachable interior console room with assorted flight controls, exclusive graphic details and steps.
- Build an authentic replica of the iconic TARDIS® time machine in LEGO® bricks!
- Great for display or role-playing scenes from the TV series
- Accessory elements include the Eleventh Doctor’s Fez and the Doctor’ssignature accessory – The Sonic Screwdriver for the Twelfth Doctor
- The Doctor fits inside the TARDIS® when closed
- Includes a booklet about the fan-designer and the BBC television series
- The perfect gift for LEGO® and Doctor Who fans of all ages!
- TARDIS® measures over 4” (11cm) high, 2” (6cm) wide and 2” (6cm) deep
- Console room measures over 5” (14cm) high, 6” (16cm) wide and 8” (21cm) deep
- TARDIS with console room measures over 5” (14cm) high, 6” (16cm) wide and 9” (23cm) deep
Links: Peeron, Bricklink and Brickset.
Disclaimer - As it is based on a product based on an ongoing TV series, this review will contain references and possible spoilers. I would advise you to get your bearings on Doctor Who (at least since the 2005 reboot) before reading it. I'll include links to external sources (wikia articles, images and even few YouTube videos) to help non-Whovians, but don't blame me for not using spoiler tags.
The Box
The box, as usual with LEGO IDEAS sets, is more compact than those of other themed sets of similar parts/price range. Its size is 26.3 x 19 x 7.3 cm, and the cardboard is sturdier than that used for common LEGO boxes, meaning it's meant to be a collection item in itself, instead of just a container for the parts and instructions.
Front
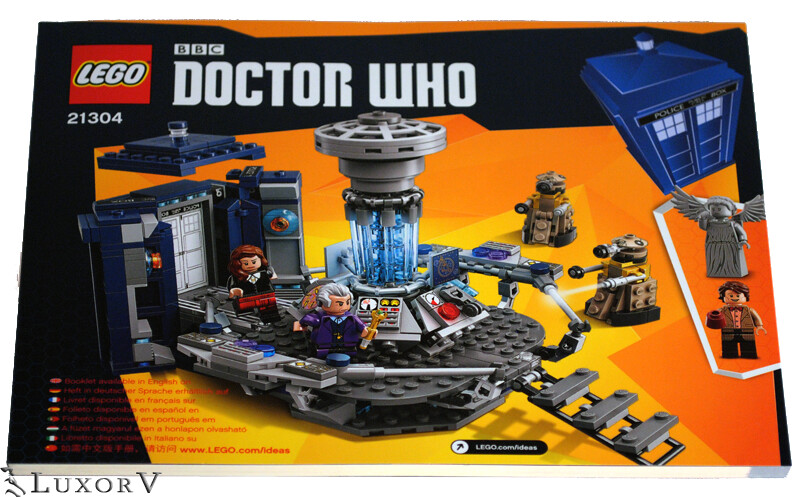
The front shows a picture of the complete set, with the console and open TARDIS connected and under attack by a pair of Daleks, while the 12th Doctor and Clara run around in circles trying to find a strategy, or perhaps to understand why there are Daleks inside the control room, or even where the walls have gone at all...
Meanwhile, a Weeping Angel and the 11th Doctor serenely watch the scene from a small window-like panel in the middle of the right side.
A draw of a flying TARDIS, the LEGO, BBC and Doctor Who logos complete the upper part of the composition, while the age and set number info are in the lower left corner. On the right, a LEGO IDEAS logo also informs us that this is the 11th (coincidence? Rule 8: Never ignore a coincidence. Unless you're busy, then always ignore a coincidence.) set in this line.
The background is composed of dark blue hexagons with lighter blue lines and areas of yellow-orange to lighten it and give more visibility to the mainly grey/blue hues of the build.
Back
The back includes two 'play feature' panels, one which is very reminiscent of the last shots of Time of the Doctor, with Clara and the newly regenerated 12th Doctor in the control room, and the other showing the moves you need to perform to open the TARDIS walls and connect it to the console area, while Capaldi sternly waits to be able to step inside the control room.
At the bottom, you can see the four minifigs and a side view of the brick-built DalekTM. Each character is identified by his/her/its name and a 'REGENERATION' notice explains that there is no mistake, but the blur indicates the transition between 11th and 12th Doctors; whether the fez also regenerated into a sonic screwdriver is unclear and will probably be the cause of everlasting debate for future generations.
Finally, a blue panel on the left, including info in six languages about the LEGO IDEAS programme, and the LEGO, BBC and Doctor Who logos fill the rest of the space.
Sides
The top of the box shows a 1:1 size shot of the 12th Doctor, flanked by a menacing Weeping Angel about to attack the 11th and Clara, while Matt Smith is probably taunting it. LEGO logo and set number are on the left.
If you look carefully, you'll also notice a strange crack on the upper left. I'm not really sure if it's just an accidental feature due to un-careful handling, or if someone is trying to enter this universe via this scar in space and time.
The bottom side is covered in the usual LEGO legal warnings and copyright statements, plus the dedicated BCC ones this time around.
Contents
Inside
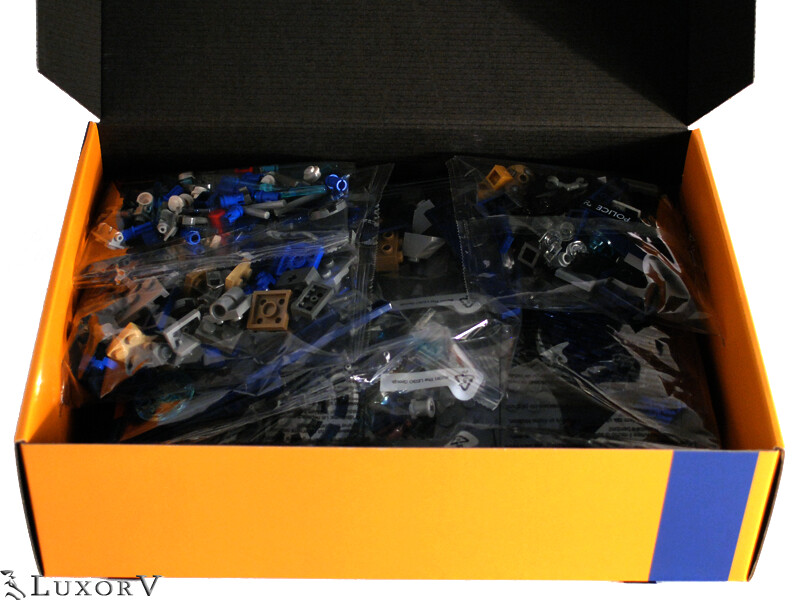
Upon opening the box, we find six un-numbered bags, and the instructions manual. Following the IDEAS tradition (with few notable exceptions), the set does not make use of stickers.
Recoloured parts
This set makes large use of re-coloured parts, or as others could say, is has been a perfect excuse for TLG to start producing more parts in (mainly) Dark Blue.
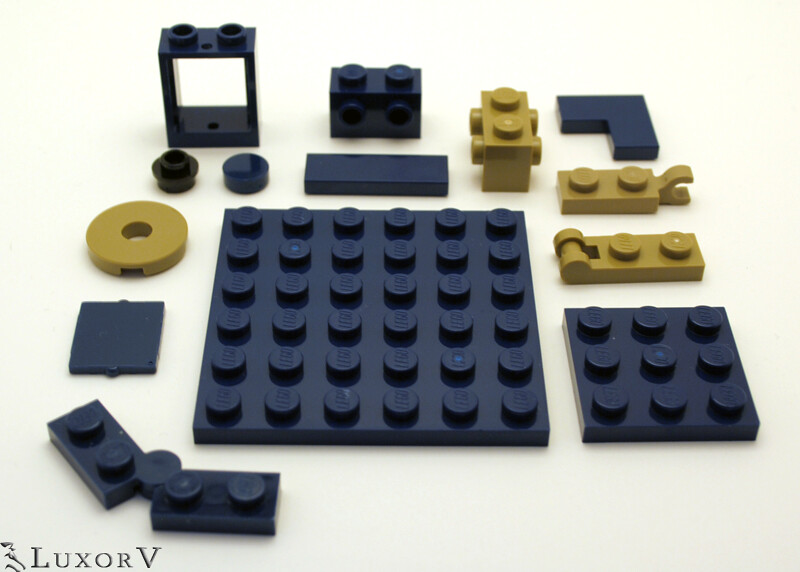
Therefore, we have 8 Dark Blue Tile 2 x 2 Corner, 6 Dark Blue Tile, Round 1 x 1, 2 Dark Blue Plate 6 x 6, 4 Dark Tan Plate, Modified 1 x 2 with Clip Horizontal on End, 4 Dark Tan Plate, Modified 1 x 2 with Handle on End - Closed Ends, 24 Dark Blue Window 1 x 2 x 2 Flat Front, 14 Dark Blue Glass for Window 1 x 2 x 2 Flat Front, 4 Dark Blue Plate 3 x 3, 4 Dark Blue Brick, Modified 1 x 2 with Studs on 1 Side, 4 Dark Tan Brick, Modified 1 x 2 with Studs on 2 Sides, 4 Dark Blue Hinge Plate 1 x 4 Swivel Top / Base Complete Assembly, 2 Dark Tan Tile, Round 2 x 2 with Hole, 5 Dark Blue Tile 1 x 3 and 5 Black Plate, Round 1 x 1 with Open Stud.
New pieces
New pieces are equally as interesting.
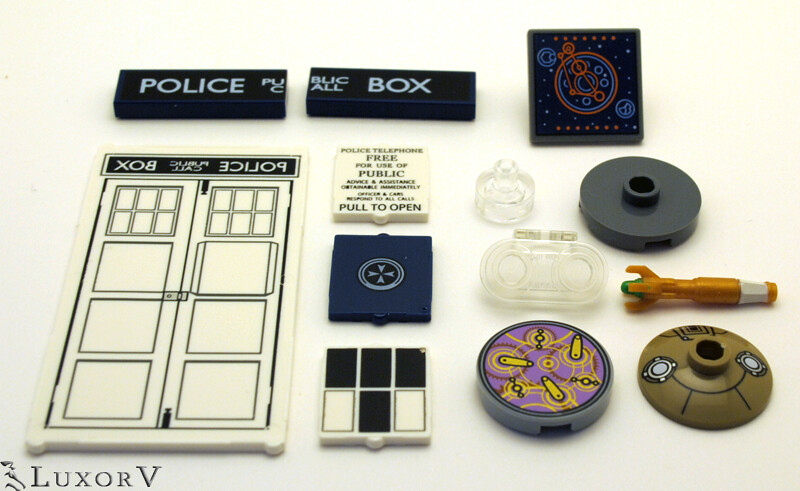
They include the two Dark Blue Tile 1 x 3 with decoration which form the POLICE BOX sign (4 of each), the Dark Blue Glass for Window 1 x 2 x 2 Flat Front with the St. JOHN AMBULANCE logo, the White Glass for Window 1 x 2 x 2 Flat Front with the Police Phone instructions, the 8 White Glass for Window 1 x 2 x 2 Flat Front with the windows pattern, the White Glass for Window 1 x 4 x 6 with TARDIS door interior pattern, 2 Dark Tan Dish 2 x 2 Inverted (Radar) with Dalek top dish designs, the Light Bluish Gray Tile, Round 2 x 2 with Gallifreyan symbols, the 2 Dark Bluish Gray Road Sign Clip-On 2 x 2 Square Open O Clip with Gallifreyan symbols, the 2 Pearl Gold Sonic Screwdriver, the Dark Bluish Gray Tile, Round 2 x 2 with Open Stud, the Trans-Clear Minifig, Neck Bracket with 2 Back Studs and the 3 Trans-Clear Tile, Round 1 x 1 with Pin.
All printed parts are exceptionally good in quality and detail, and faithful to the source material. The only part which is slightly different from the original is the sonic screwdriver, not sporting the black on the handle and the chrome/metallic gray on the head. That is excusable, though, as the black part would be right where the minifig hand grasps the accessory, and a black paint there would be easily removed through use; moreover, it would probably be too difficult to have both the green and chrome/metallic paints on the head, and the printing process could turn the part into a mess all too easily. All in all, the part is readily recognisable, and works well as is.
Rare pieces
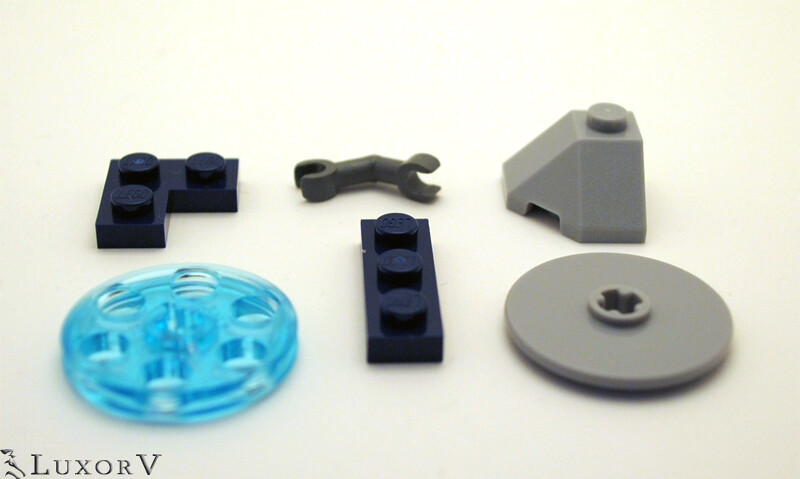
The set also includes a few rare parts, such as 10 Dark Blue Plate 2 x 2 Corner, a Dark Bluish Grey Minifig, Utensil Zip Line Handle, 3 Dark Bluish Gray Arm Skeleton, Bent with Clips at 90 degrees (Vertical Grip), 2 Light Bluish Gray Technic, Disk 3 x 3, 2 Trans-Light Blue Technic Wedge Belt Wheel (Pulley), 4 Light Bluish Gray Wedge 2 x 2 (Slope 45 Corner) and 4 Dark Blue Plate 1 x 3.
Extras
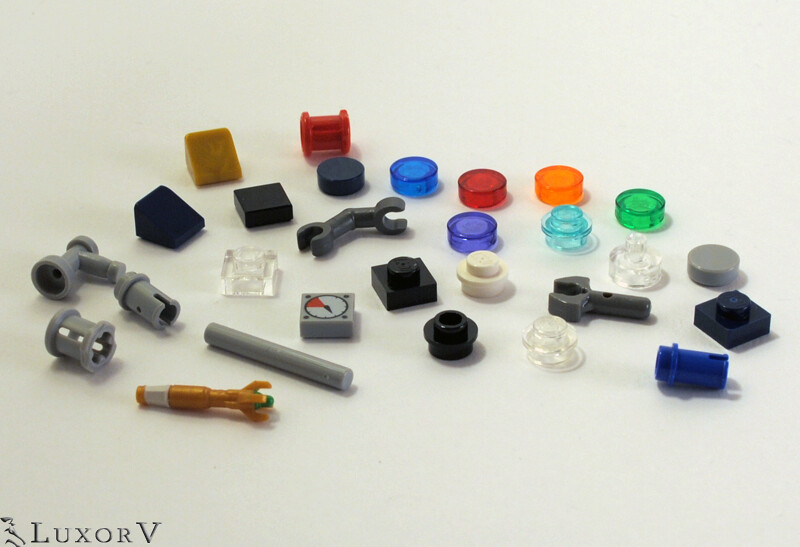
The extras include the usual assortment of small round plates, generic parts and tiles, cheese slopes and Technic bits. Of special interest is the second copy of the sonic screwdriver, which will allow both Doctors to carry theirs.
Manual
Front
The front cover of the instructions manual has the same basic picture and composition as the front of the box. In addition to that, a link to the LEGO IDEAS website is provided, along with a note in 8 languages informing us that the same booklet is available in each respective language on the site.
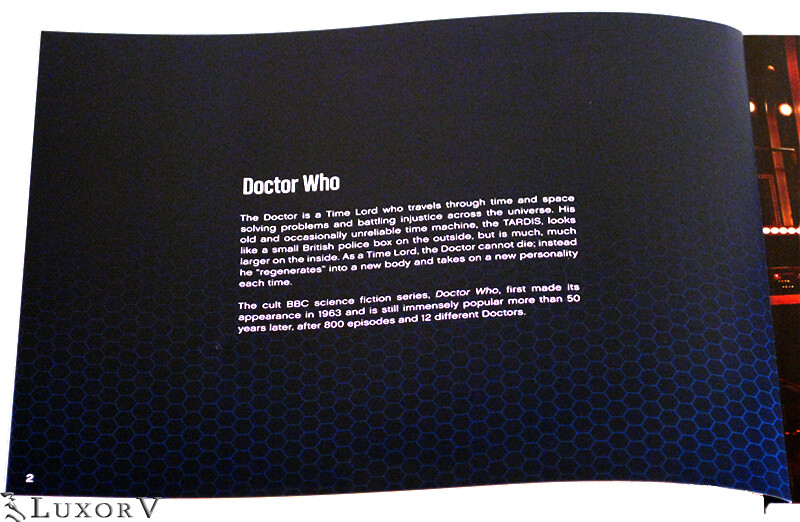
On the inside cover, we find a short text which gives us context and info about both the Doctor and the BBC TV show.
The first page is dedicated to the 12th Doctor and Clara inside the TARDIS control room. This, along with providing a stylish start to the manual, gives us an idea of the material the set is based on. The main difference between the pic and the actual LEGO set is the orange colour of the tubes in the column you can spot right behind the Doctor. This difference seems to be related to the fact that the TARDIS control room scheme used in the set is that of the 7th season of the show, with Matt Smith's 11th Doctor's blue accents, while the photo is from the 8th season and sports Capaldi's orange.
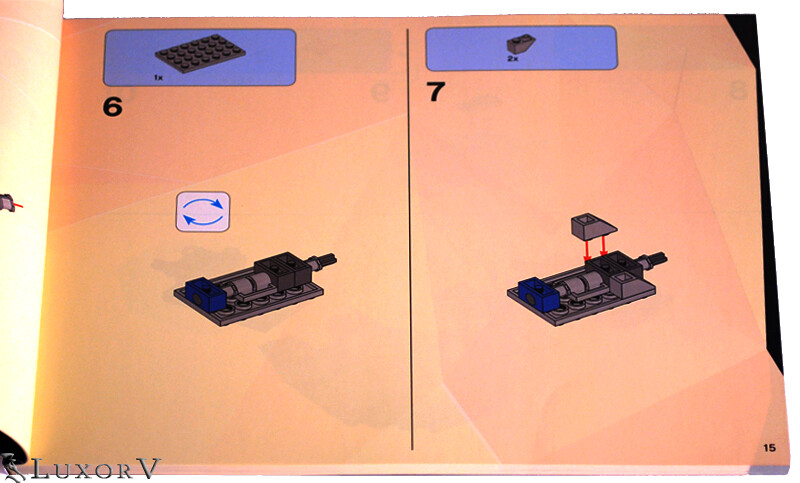
Here's a random page. As usual, pieces call-outs and step numbers help us during the build. The background is very similar to that behind the picture on the box and manual fronts, but with a more yellow-ish/tan hue.
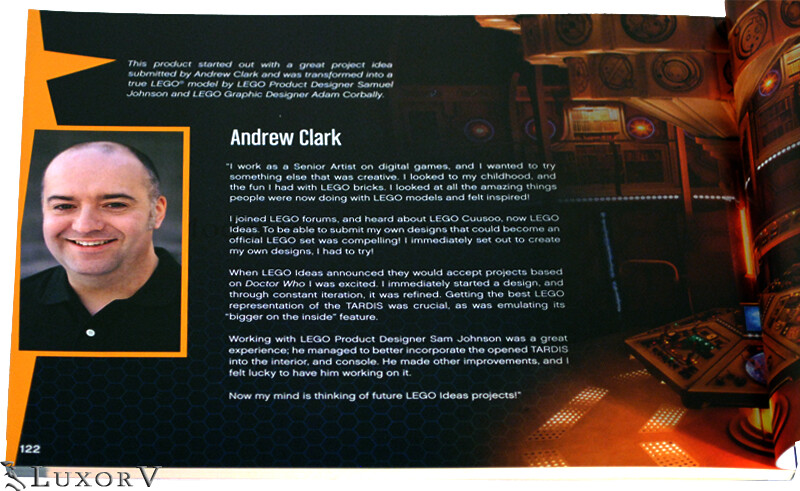
The manual, following the IDEAS sets' tradition, includes tons of info and details on both the source material and set design process. I limited the parts shown here to the above mentioned first pages and this, which is one of the last, giving us an insight on Andrew Clark, who submitted the original project on the LEGO IDEAS site, and his experience designing and finalising the set with LEGO designers.
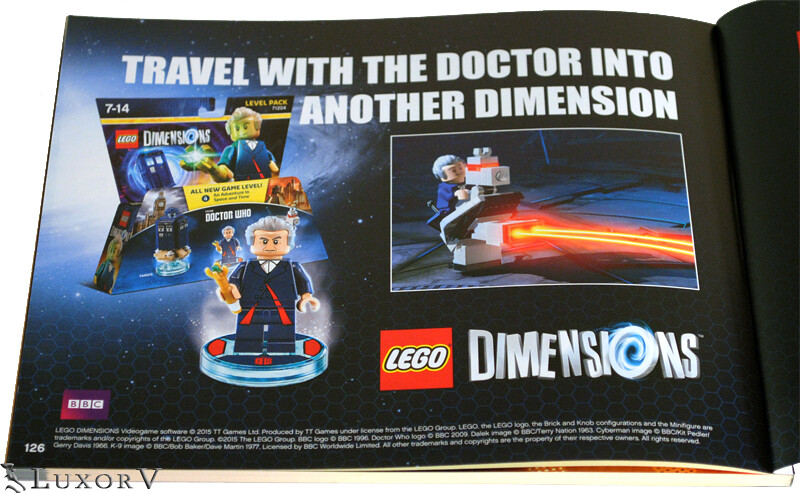
The very last pages are dedicated to the usual LEGO commercial ads, and since a LEGO Dimensions Doctor Who Level Pack is about to hit the market, what better product to show on this manual?
Minifigures
Following the order in which the minifigures are shown on the back of the box, we start with the 11th Doctor.
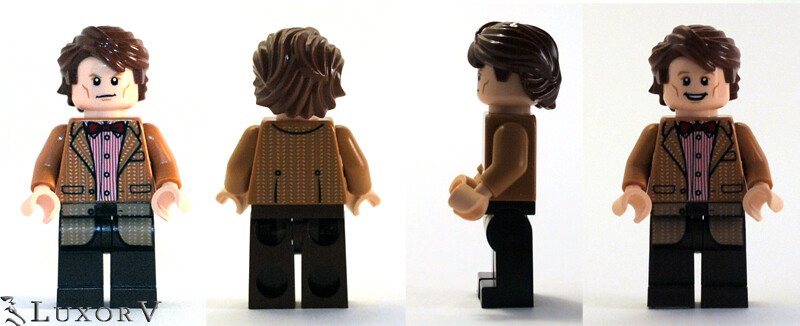
11th Doctor
This peculiar incarnation of the Doctor displays one of the most recognisable looks in the entire series, with his distinctive bow tie, and the iconic (since seasons 7, mainly) waistcoat. For this set, designers decided to use his brown coat from season 7 (though it could have been a bit darker), which is one of the main attires for the 11th Doctor, even if not the one he used in the episode Time of the Doctor the set is supposedly based on. All in all, I really like this version of Matt Smith's character, and I've even come to like the red stripped shirt, which I did not particularly appreciate in the first images.
The head has a double expression: the stern but satisfied look the Doctor sports when dealing with important matters, and the smiling face he uses when happy/joking, or, sometimes, when taunting his enemies right in the middle of a crisis.
I know some lamented a lack of precision in the hair piece choice for this minifigure. I must say I quite like this part for him (it is the one I used to use for my custom version up 'till now). What I'd personally change is the hue of brown: the set uses a Reddish Brown, while I prefer, as more accurate, a Dark Reddish Brown.
12th Doctor
The post-regeneration 12th Doctor wears the purple coat mostly used by Smith in the end of season 7, and only worn by Capaldi in the final moments of Time of the Doctor and in the first episode of season 8. As you can notice, the bow tie is gone just before the regeneration (check
), and so is the smile. The 12th Doctor is a sterner man then his previous incarnation, and his smiles are quite seldom, and mainly meant to scare his enemies. Also because of this, the head only has one print. Since the 12th Doctor is dubbed 'eyebrows', LEGO designers marked the characteristic feature making for an unmistakable resemblance.The hair piece is a new mould, and looks very good on this figure. It is sculpted with lots of details, especially on the back.
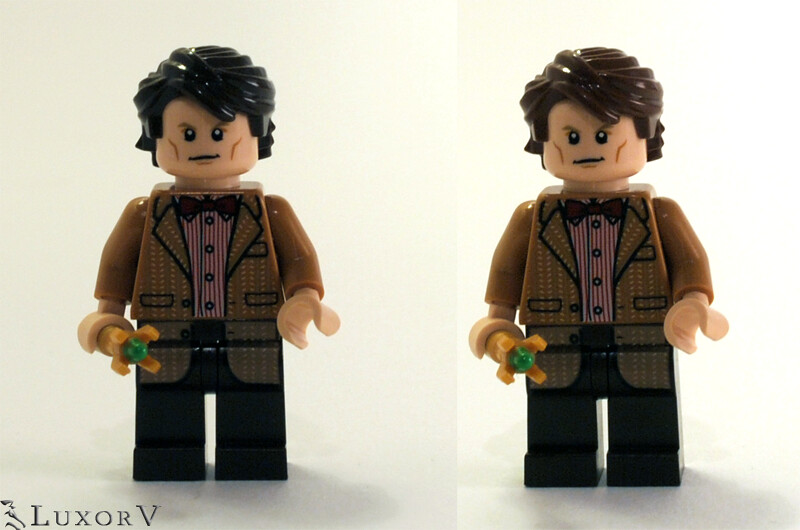
Since, as already mentioned, a LEGO Dimension pack including another version of the 12th Doctor is about to be available, I managed to get hold of that too, to be able to show you a comparison between the two figs.
The Dimensions one sports the usual (as of season 8) attire of Capaldi's doctor, dark blue with crimson red highlights. I can honestly say that I like both versions and I would be hard-pressed to choose one as the best of the two.
Head and hair pieces are the same for both figures.
Clara
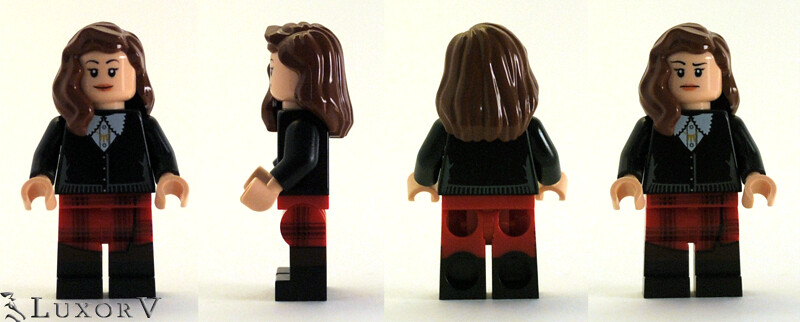
Clara Oswald, being the companion who followed the Doctor in his transition between the 11th and 12th incarnations, was the natural choice for this set. Her minifigure is indeed spot-on. I like both the torso and leg pieces, with distinctive, yet generic enough designs to be used for other themes, too. I may be a bit out of date with minifigures' printing styles, but I'm sure this is the first minifigure I own with the back of the legs printed like the front and sides, which I largely appreciate. Just like the 11th Doctor, Clara's had has a dual face print: a serene look, and a more perplexed one (who wouldn't be perplexed after dealing with Matt Smith's Doctor for a bit?). The hair piece is a common one, but still a good choice for the character.
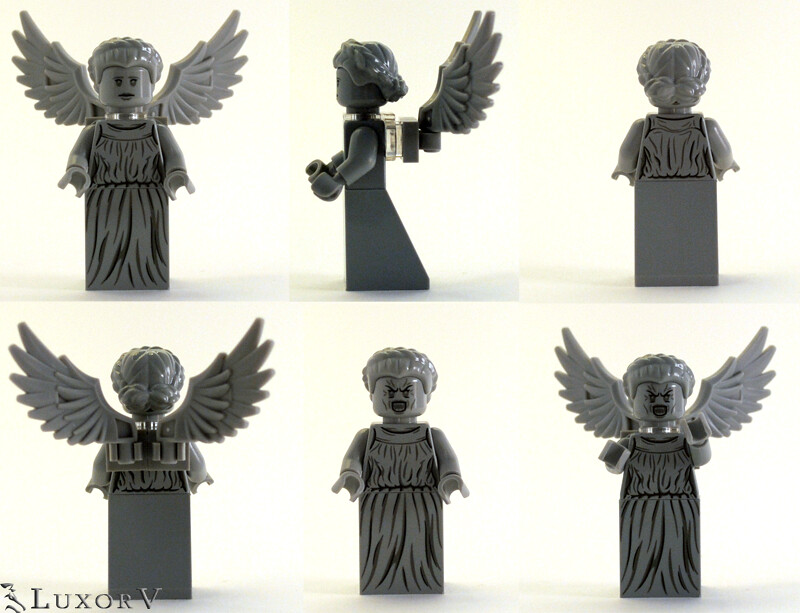
Weeping Angel
Warning: this picture could turn into an actual Weeping Angel, which could either break your neck, or send you back in time to an era without LEGO, and then feed on our AFOL's despair.
That said, the Weeping Angel figure is quite a surprise. Not for its design, which works very well, but because Weeping Angels play a very minor role in Time of the Doctor, and in most of the Clara era. To be perfectly honest, I would have expected a Cyberman to be in this set in its place.
To the figure itself, now. As you can see, the detail of the vest is really good, and very reminiscent of that used for the Statue of Liberty CMF. The back of the torso has a print which is normally covered by the Chima wings, which are attached with the new neck bracket. The head has two faces: the calm, statue-like one, and the aggressive, maniacal one, which is very fitting for one of the most frightful and relentless enemies in the Doctor Who universe. The choice of the hair piece seems very good, too.
Build
Getting started
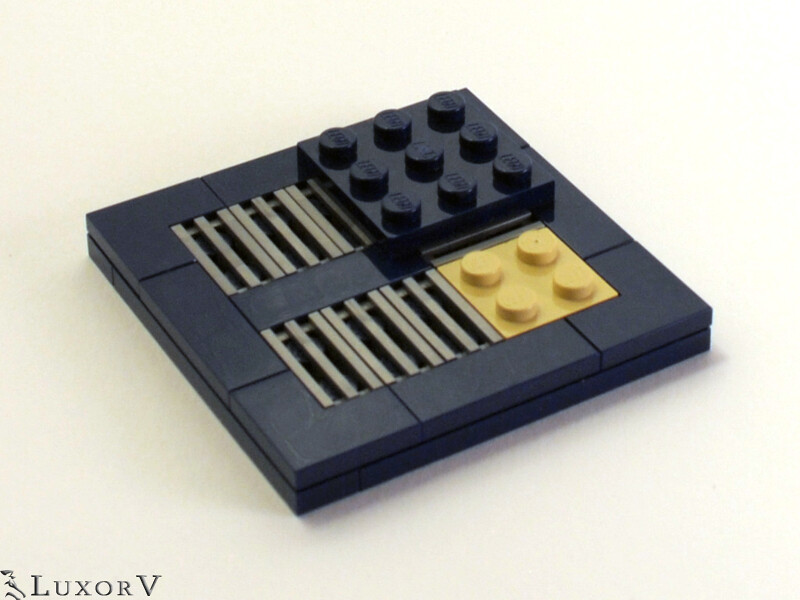
The build starts with the control room, and, specifically, with its base. As you can see, this portion makes quite extensive use of Trans-Light Blue parts; too bad the rest of the build will cover them and make it almost impossible to spot them.
Step on it
Just a few more steps, and we have the control room floor, entrance platform and stairs in place. The supports surrounding the platform will remain empty 'till the very last steps of this portion of the build.
How to build an hexagon
The central column is treated as a separate part for most of its build. The lower portion, made of mainly Technic parts, will allow us to build the hexagonal console, which is no easy task with the current LEGO palette of pieces. You can see through the Trans-Light Blue cylinders that the column is strengthened by the use of two Technic axle parts. Keen observers will also notice that those pieces are of two different colours, one black and one gray. Whether this is meant to represent the internal mechanisms of the TARDIS, or it is a simple strategy for kids to better tell the two apart is not clear to me. Few round plates and two radar dishes complete the top of the column with a really simplified version of the Time Rotors.
Almost there
With the console in place and all the controls ready to be used, we are almost at the last steps of this section.
Watch where you go!
The railings, external control panels and movable monitors, the control room is now complete.
As-sem-ble!
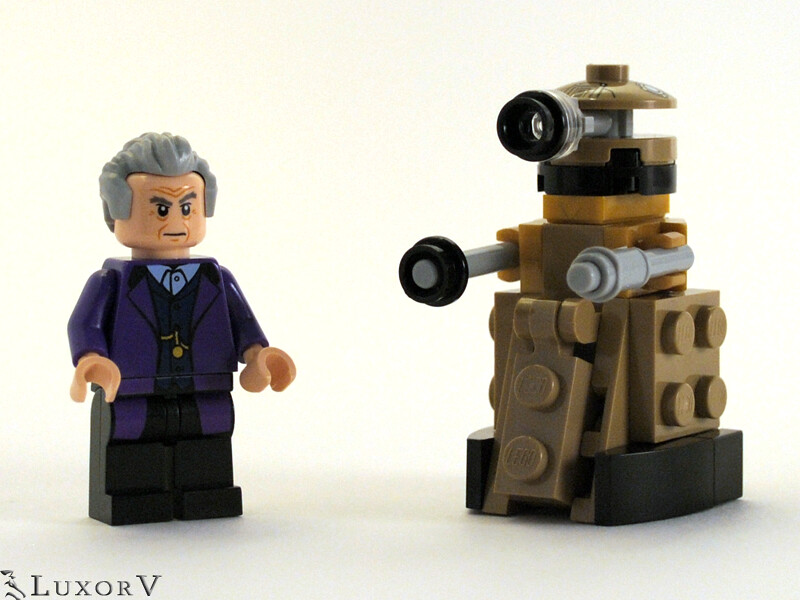
Next up are the two Daleks, which are not considered as part of the minifigures, due to their brick built nature. The build is pretty easy, and modular. Many fans will be able to build their army, with different colours. The only exclusive part is the printed dish, of course.
Ex-ter-mi-nate!
Once build, the Dalek is ready to do his job, which is to ex-ter-mi-nate all non-Dalek life forms in the universe. As one would easily assume, they are not the best species you could encounter in your time and space travels.
These specific Daleks, given their colour, seem to be based in design on the Time War variant, as deduced from the Dalek Colour Schemes and Hierarchy map.
You looked shorter on TV
Though the original Dalek design marked them as circa 163 cm tall, these LEGO Dalek, probably on steroids, are taller than a minifigure, meaning they are somewhere around 2 meters in (LEGO scale) height.
Laying foundations
And now we get to the other star of the set, the TARDIS (Time and Relative Dimension In Space) herself, or, as the 11th Doctor calls her, Sexy!
Of course, we start from the base, which is an unusual 7x7 studs. This size is reached by the use of a 6x6 plate, two 1x6 and a 1x1 additional plates, and kept together by the overlying layer of tiles and smaller plates.
Through the door, or maybe not
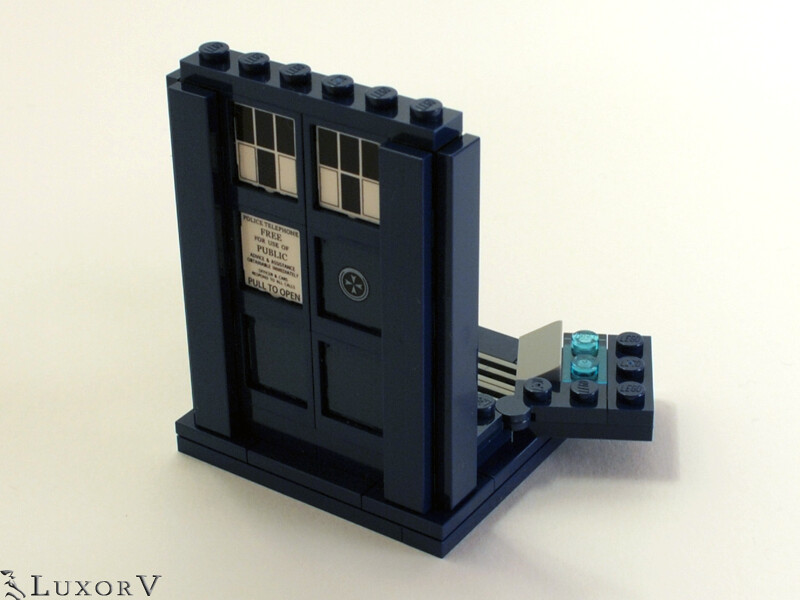
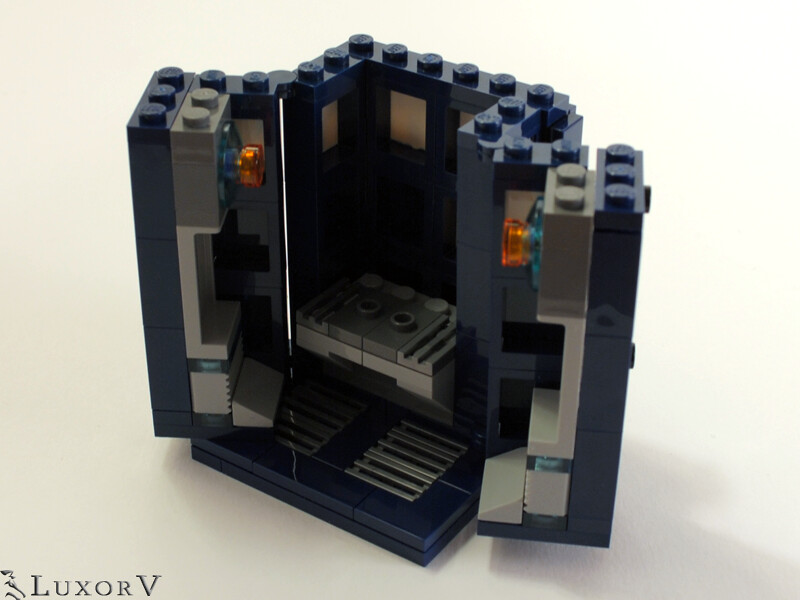
One of the most peculiar features of this set is the fact that the parts composing the exterior door of the TARDIS are those opposed to the part of the build that actually opens up to reveal the interior. As counterintuitive as that may be, the explanation is quite simple (as we'll see more clearly in as short while): the back of the 'door' must be completely visible in the assembled-with-the-control-room stage, so it needs to be a whole wall.
Fans may still mod their TARDIS so that the front doors are on the split side, but the inner face door is opposed to them. It's just a matter of personal preference.
Almost a cabinet
The rest of the walls are built very easily, as the window parts must just be stuck one upon the other in a repetitive manner.
Four walls and a roof
By adding the POLICE BOX signs and the roof, we complete the build and are almost ready to start to investigate the play features.
I'll just spend a few words on the signs themselves by saying that though the gap between the two parts looks a bit awkward, it is better looking in real life than you could expect from pictures.
This thing is huge!
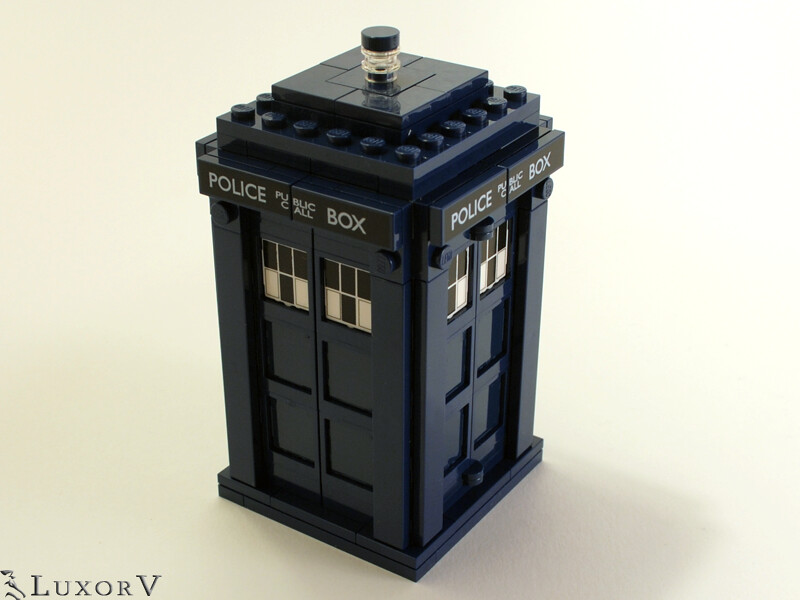
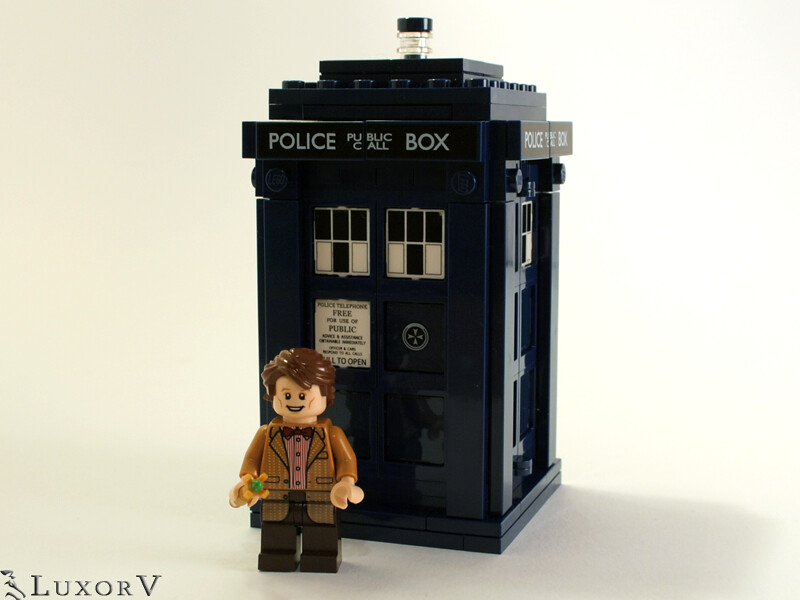
Due to the fact that it includes a raised platform that must match up with the console room, and the strange height/width LEGO ratio, the closed TARDIS is huge when compared to a minifigure, way bigger than its real-life counterpart.
Nonetheless, it's a beautiful build and a great model to display.
Finished set
All together
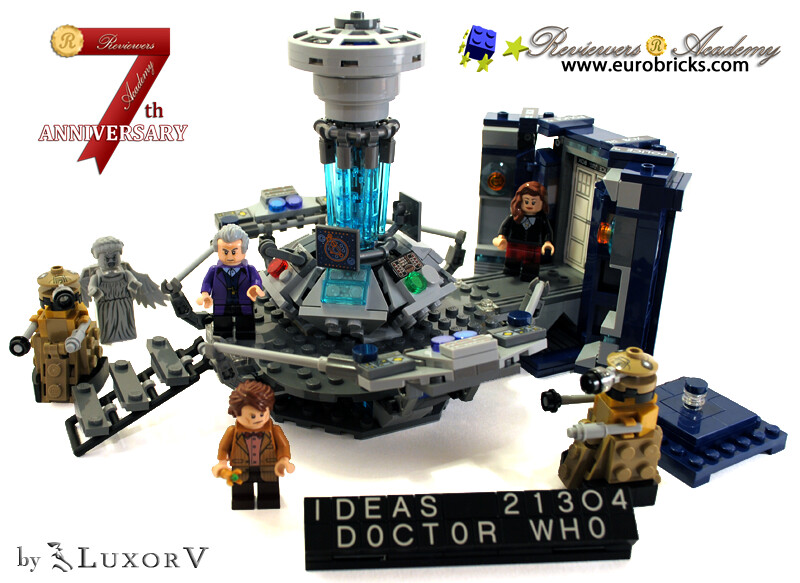
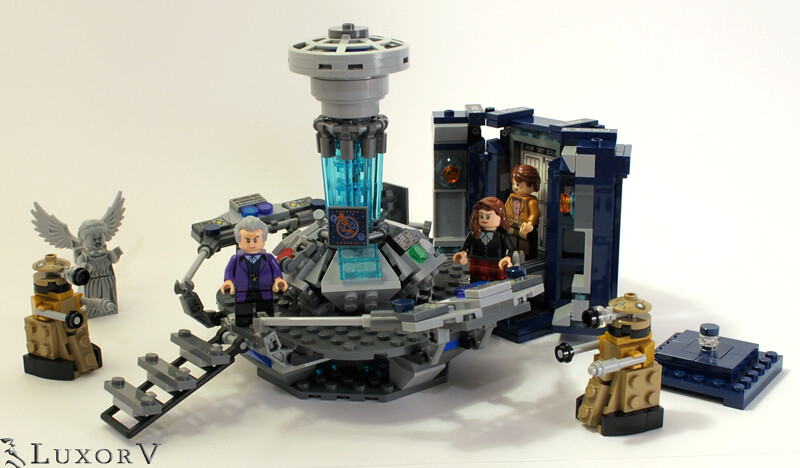
Once we assemble the control room and the open TARDIS, we get the full set, complete with its minifigures and brick-built Daleks. The set has a satisfying size, which gives it importance, and the parts connect with harmony, both in size and colour scheme.
Inside the TARDIS
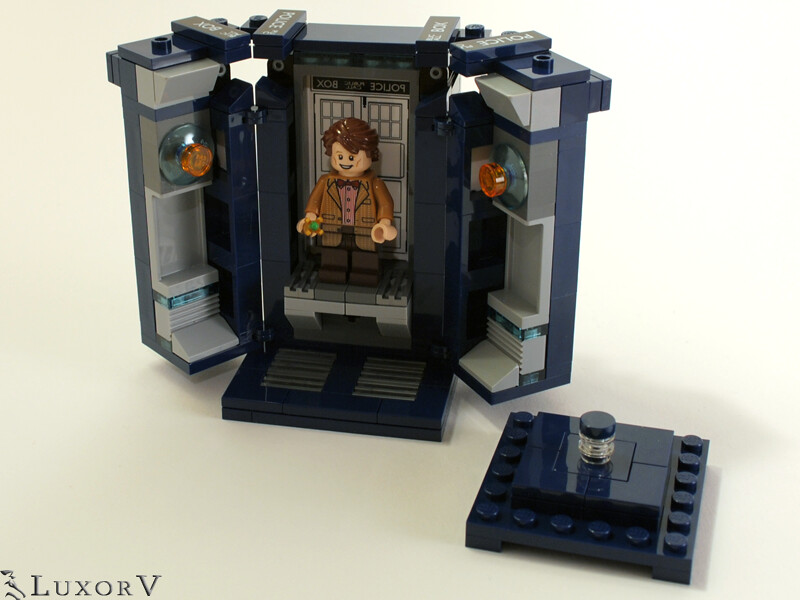
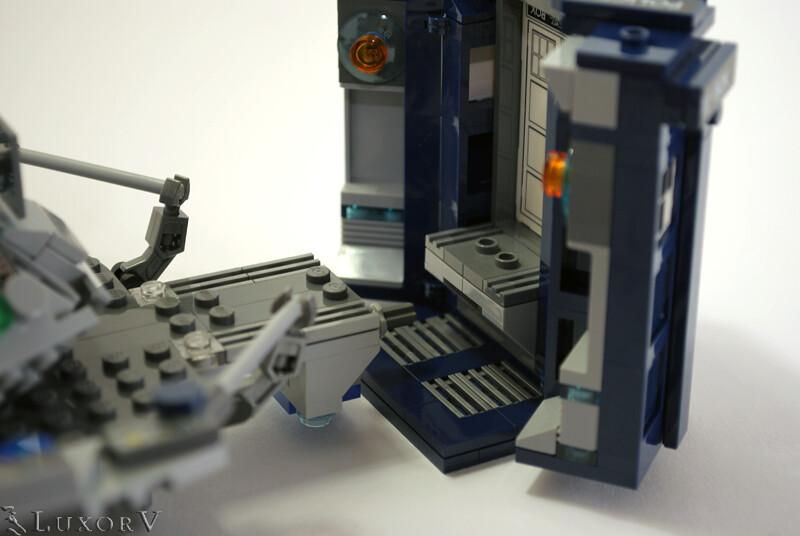
As mentioned, the inside of the TARDIS includes a raised platform which connects with the one at the back of the control room. This can also be used to place and store your favourite Doctor, or Clara (the winged Weeping Angel and the Daleks do not fit in) when travelling through the time and space continuum.
Ready... Connect!
The two parts connect via a combination of Technic axle (on the control room side) and brick (inside the blue box). This link will keep the two in place during play, but will not bear excessive roughness. While the TARDIS is pretty swooshable, the rest of the build isn't, and should not be used as an extended space-ship mid flight.
Bonus Images
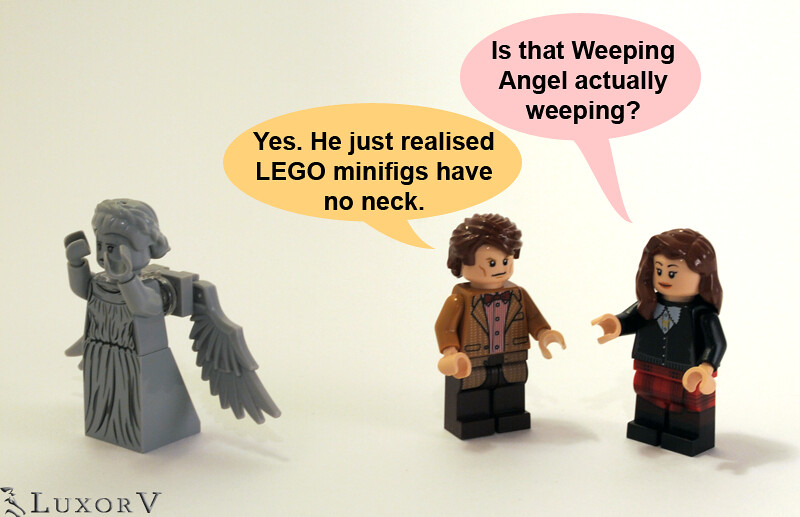
How LEGO Weeping Angels earned their name
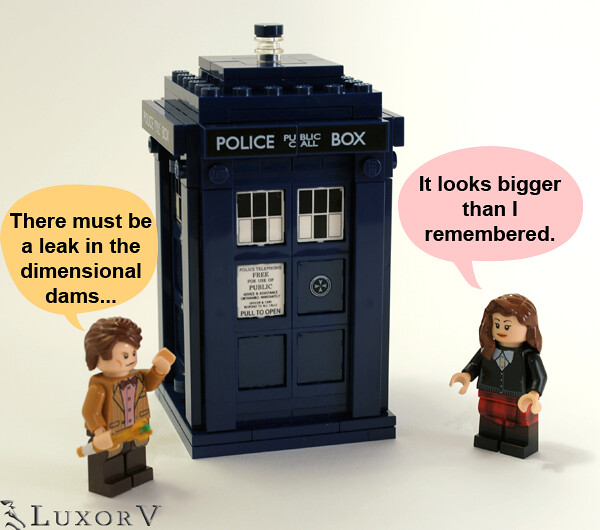
Is this Trenzalore already?
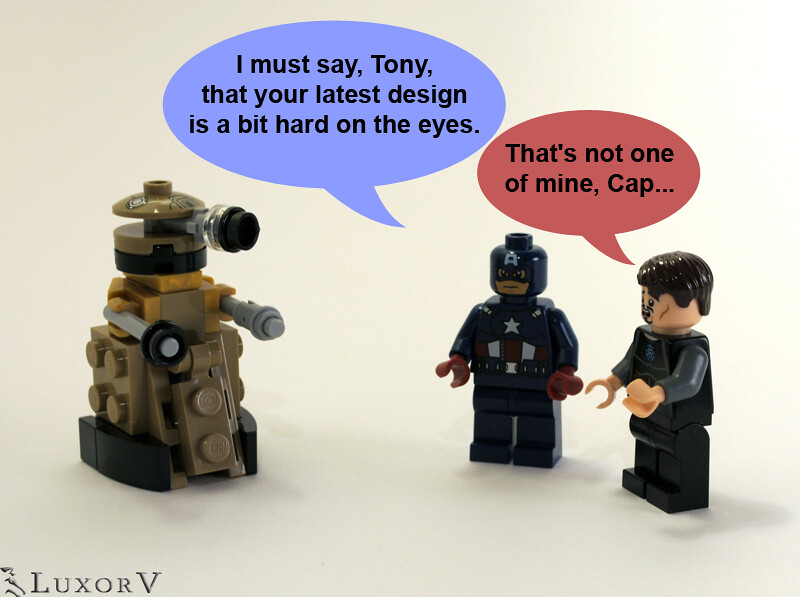
How I met your Dalek
Finally!
Final Comments
Overall, this IDEAS set is very faithful to its source material and pretty rich in both details and minifigs (counting the brick-built Daleks in this category for once). The colour scheme, though guided by the original one, is well done and harmonic. Moreover, you get two models, which can combine into a bigger one or be used separately, for both play and display purposes, and also offer great potential for mod-ers and moc-ers.
Design & Colour scheme – 10/10 (Very accurate to the source material and rich of well-finished details.)
Minifigs – 10/10 (Though most Whovians will lament the lack of one Doctor or Companion or the other, the choices made for this set are very good, and the design and detail of the figures are great.)
Parts – 9/10 (Great variety of useful parts, a reasonable amount of new pieces, and quite a few cool printed ones (no stickers!).)
Playability – 10/10 (As a Doctor Who set, the only limit to playability is one's imagination, and both Andrew Clark and the LEGO designers did their best to add nice play features to the set. The one I find most entertaining is the 'regeneration feature' shown on the back of the box, though!)
Build – 8/10 (Nothing too complex, but some efficient solutions are used, along with quite a bit of SNOT-ing for the TARDIS and the hexagonal console.)
Price – 10/10 (For a set linked to a license, this one is extremely well priced, as you get 600+ parts for 60 €.)
Overall: 9.5/10 Excellent
As always, questions, comments, and pic requests welcome!
If you like my reviews, and would like to learn how it's done, please consider joining the Reviewers Academy:
- Includes 4 minifigures with assorted accessory elements: the Eleventh Doctor, the Twelfth Doctor, Clara Oswald and a Weeping Angel, plus 2 Daleks™
-
You can find some measures at the bottom of the first post in the How to print decals tutorial.
Moreover, for tile/plates, 1 stud equals to 8 mm. So, for example, a 1x2 tile is 8x16 mm.
Minifig waist is 15.5 mm if base of the torso. If you mean hips, it's closer to 15.2. You may also want to check the minifig technical drawing for those data.
I have never found measurements for minifig arms, but I'm sure other decal artists can share that knowledge.
Finally, the Templates Index includes a number of scaled images which could be of use.
-
I'm glad you liked this building challenge.
Also remember, though, that it was MinifigureHQ's sponsoring that made it all possible.

-
Indeed, put all fulfilled decal requests designs in here. They will be added to the Theme Index they belong in, eventually.
Thanks for your contributions.
-
Eurobricks Staff and MinifigureHQ are proud to announce the Winner of this year's very special Alien Investigators Raffle Building Challenge!
Join us in the MCW forum to learn more about the Challenge and to discover the name of the winner!
-
This has been a very fun raffle, and I want to thank all of you for sharing with us your creativite takes on the theme of this unusual building challenge.
Unfortunately, two entries did not comply with the picture size rules.
Among the partakers, the winner was picked via a random number generator (namely www.random.org).
As you all know, the prize is sponsored by Minifigures.com and consists of a couple of splendid custom minifigures:


Without further ado, the Winner is farkas1014, with his entry Icy surprise:
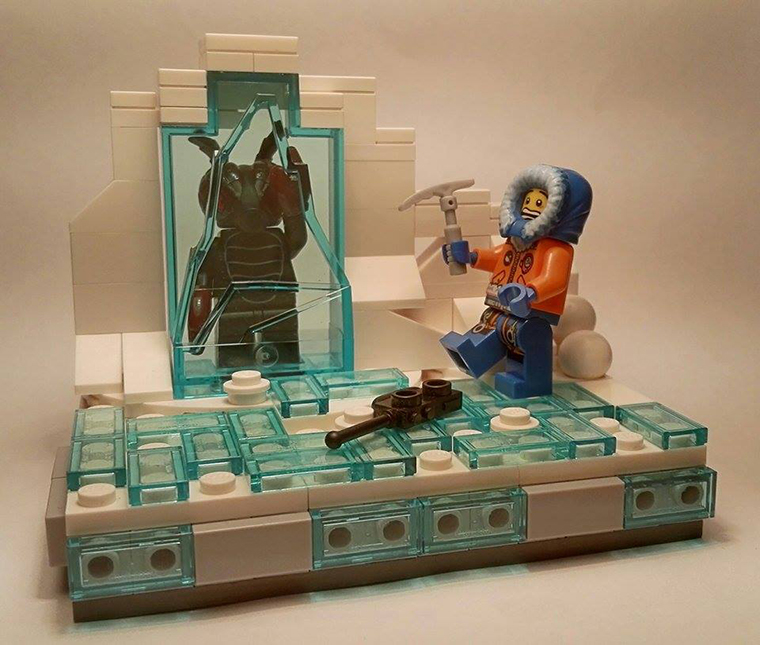
Congratulations! Please PM me your full name and mail address details to get your prize asap.
-
The submission phase is now closed.
The winner will be announced tomorrow.
-
Just few hours left, Eurobrickers. Get your entries in before it's too late!
-
-
Agent Sharon Blackwell was told that the creature had been sighted somewhere around here in the Navajo Desert, but the Razar detector still wasn't picking
P.S. If the image is too large, just let me know and I'll fix it.
Yes, please. The rules clearly state:
Your entry must include one image (and only one image) and be no larger than 800x600.Thanks.
Batman could tell that a strong alien had recently landed on the outskirts of Gotham and couldn't be to far away.
Please try to deep link the image. Maybe try a different photo hosting site. There are links to some tutorials in my signature.
The vehicle certainly looked alien, and witnesses swore they'd seen a hideous creature fleeing the area after the crash.
All nonsense, of course.
There are no such things as aliens.
The inspector pulled reflexively on his ceremonial red Inspecting Gloves as the Sniffer did its work.
Certainly, there was a rational explanation for all of this...
Nice take on the theme!










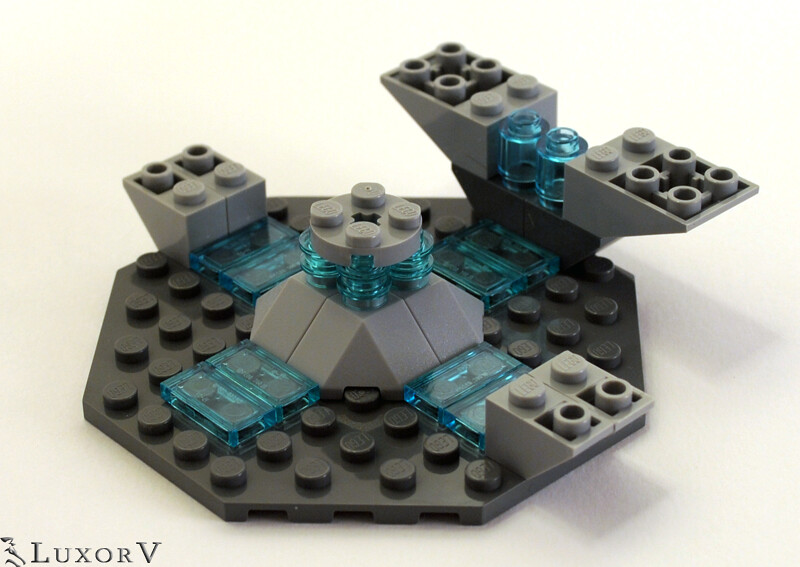
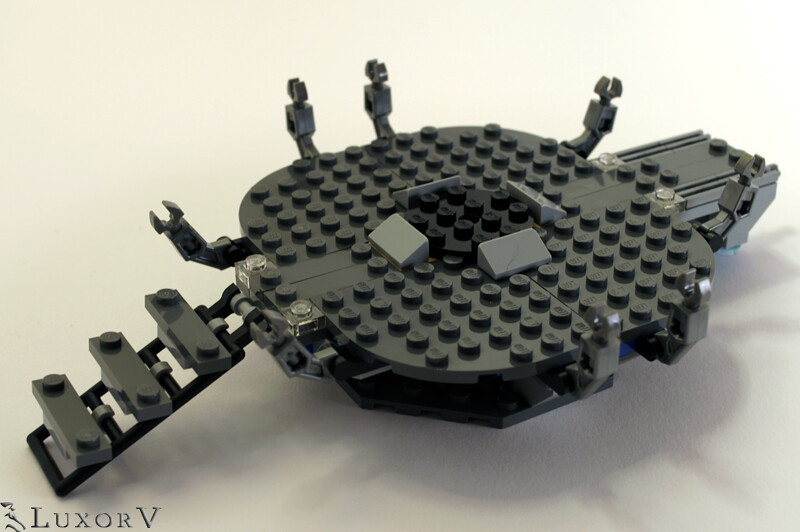
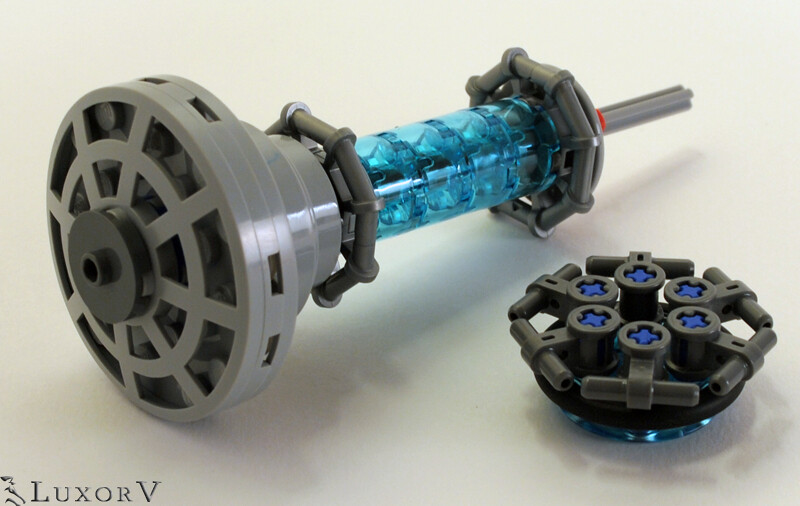
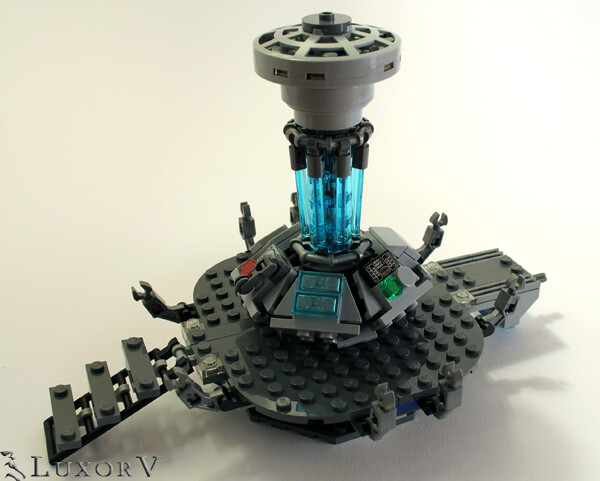
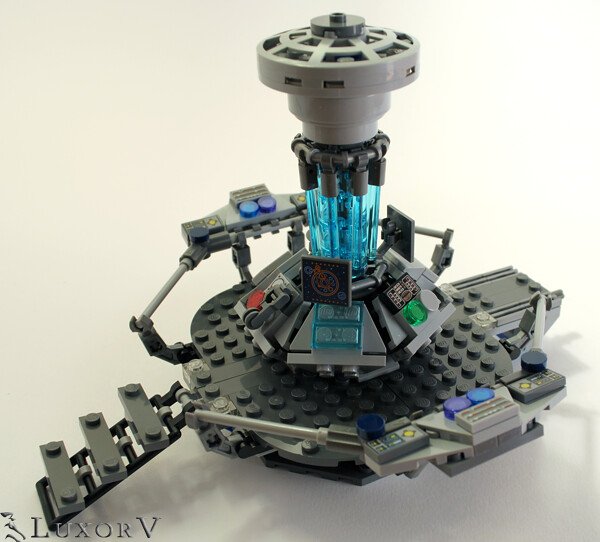
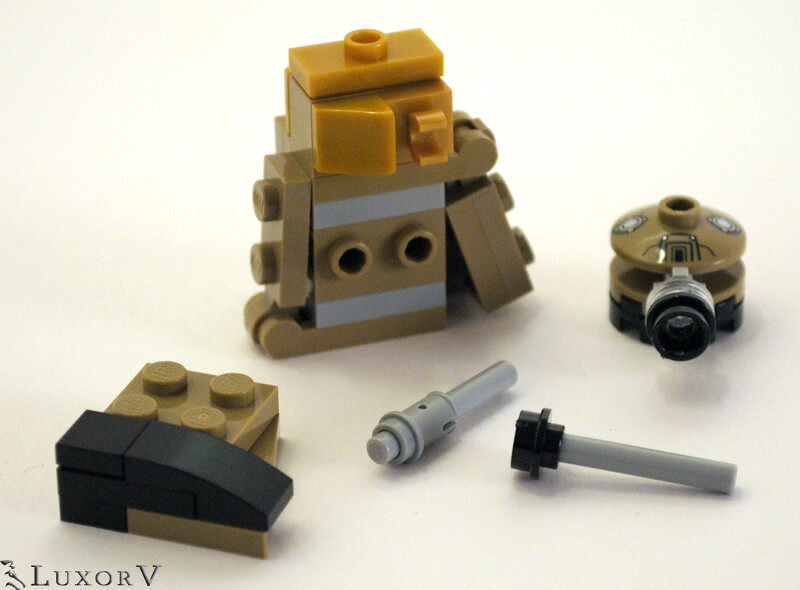
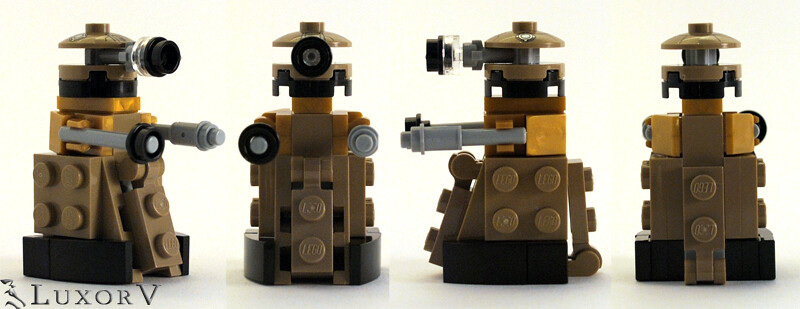


My MARVEL MOCs
in Minifig Customisation Workshop
Posted
Please, syafiqspyderr, do not use other people topics to share your creations. You can open your own showcase topics. Thanks.