

baard
-
Content Count
235 -
Joined
-
Last visited
Posts posted by baard
-
-
While I appreciate the beauty of showing children how mechanisms work my experience at shows is that wow factors can be achieved as well with hidden mechanisms.
I have built in a decoupler in the bogie itself using the same loco as you, but my mechanism is using retraction of the magnet rather than pushing of the wagons.
Se example from my Flickr page here:

Picking up the train to show the kids afterwards is always fun.
Cheers,
Baard
-
I have prolonged my cars with 8 studs as well as made a sleeping car. See my Flickr:
https://www.flickr.c...03/15022704290/
Happy building
-
Great MOC!
Lots of nice details and colors.
Keep it coming!
-
Fantastic!
Would be fantastic to see in a city layout!
-
It should power off by itself after 7 minutes or so if idleness. I am still using one of these (taken out of the casing) to power a Robel maintenance train. It seems that it has a linking for fresh batteries though...
Probably one of the reasons why RC was a short lived solution
-
Really cool engine, well executed.
Must be strong with that XL motor.
Will we see any train cars to go with it as well?
-
Good idea
The darkest blue is nearest in color.
I have used Lego stickers on some of my MOCs, cut in different shapes to serve my needs, i.e. model shape cannot be achieved with a different building solution or technique or with elements in the right color. I admit that shaving off a stud has occurred, but do not regard this as cheating or being less puristic. If TLC is the standard, gluing, putting metal into models, various non Lego electronics etc. is the norm, I think I am more puristic and have no problems with this. If the goal is to be able to reuse the parts, I am well within these borders.
Happy taping!
-
Wonderful project.
One of the trains I wanted as a child, but never had
The sound of the 12v brings back memories of the metal smell that comes after a few minutes of running. My Blue era trains still work, but unfortunately gets to see little light due to other projects.
Thanks for sharing!
-
Fantastic build!
I am impressed with the amount of detail
The crate you transport the layout in is a wonderful idea.
Thanks for sharing!
-
Nice to see your process of building and rebuilding. If you let the battery box be a part of the structure (like a beam in itself), letting the plates on the sides be removable for easy battery change, this will let you use less plates/brackets etc. to connect the two ends of your train.
Happy building!
-
Answer to original question - both
I have 3 rechargable batteries that sit in trains that do not like to be disassembled. This the primary reason for using this battery, as it is expensive
Charging the battery while it sits in the train has not proven to be a problem so far.
My x number of the PF battery boxes (both types (AA +AAA batteries) sit in trains where the box is easily removed.
-
Hi,
I have thought about the same, and made this solution:
This would remove 2 of your brick levels (my track sits 2 bricks over the baseplate), thus cutting the extra pieces in half

It also allows you to use different mechanisms. In on of my points, I am using the Lego servo to operate a speer that pushes on the point.
-
Hi,
This is why I build Lego
The challenge to create something that looks real, but also is functioning well. The limitations of the bricks and space foster creativity.
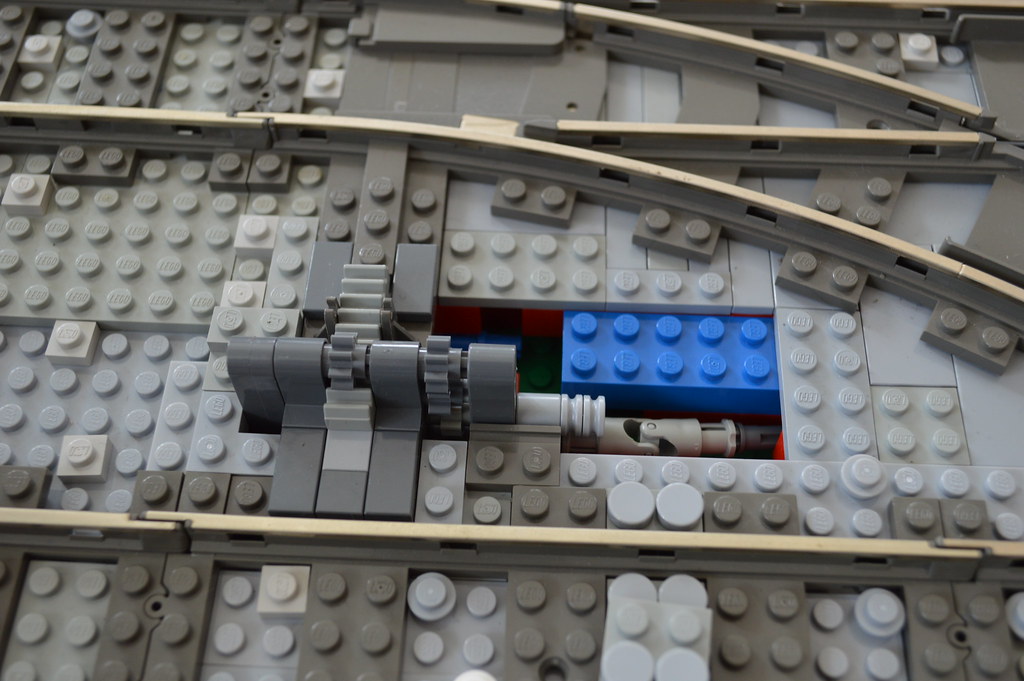
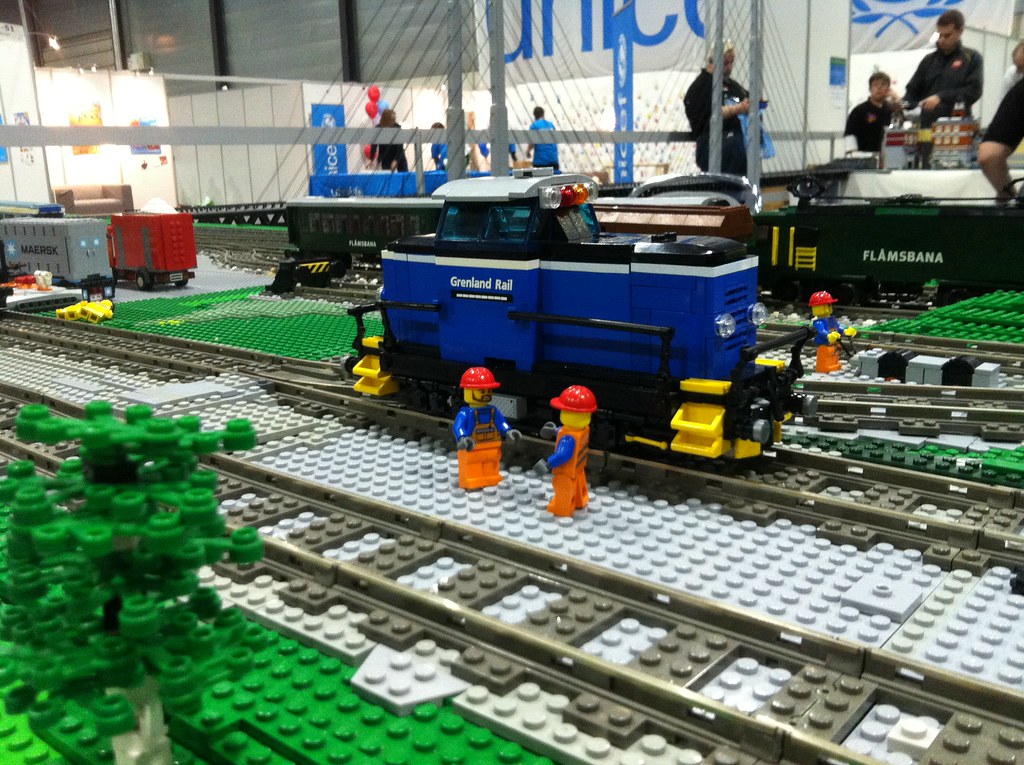
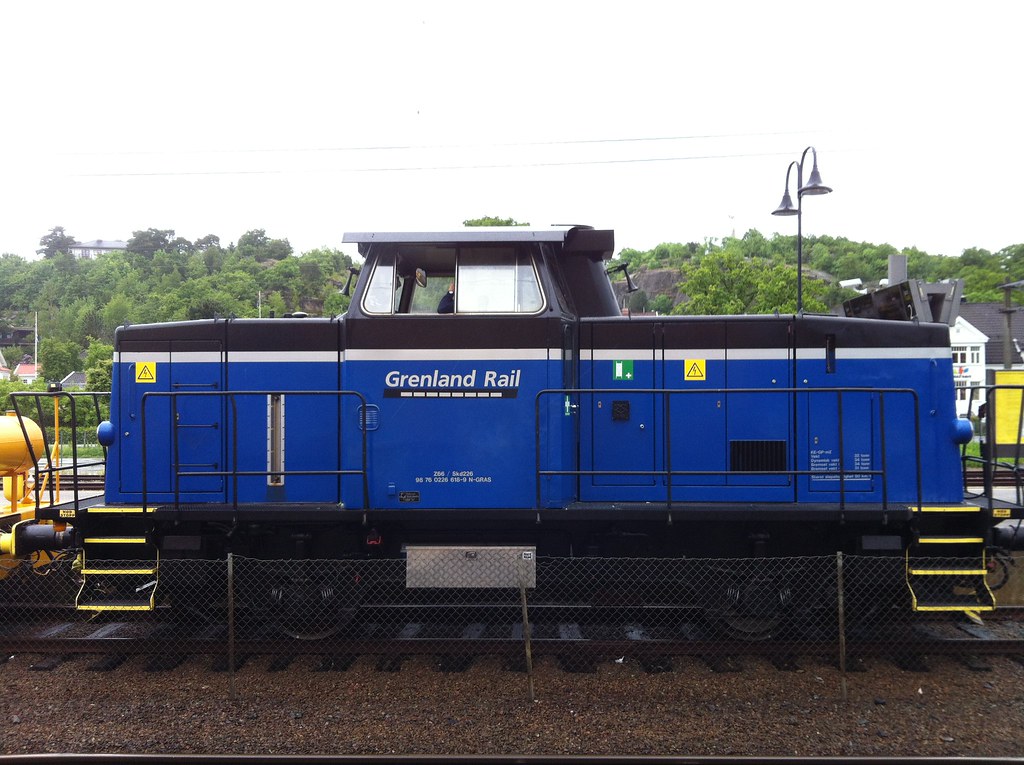
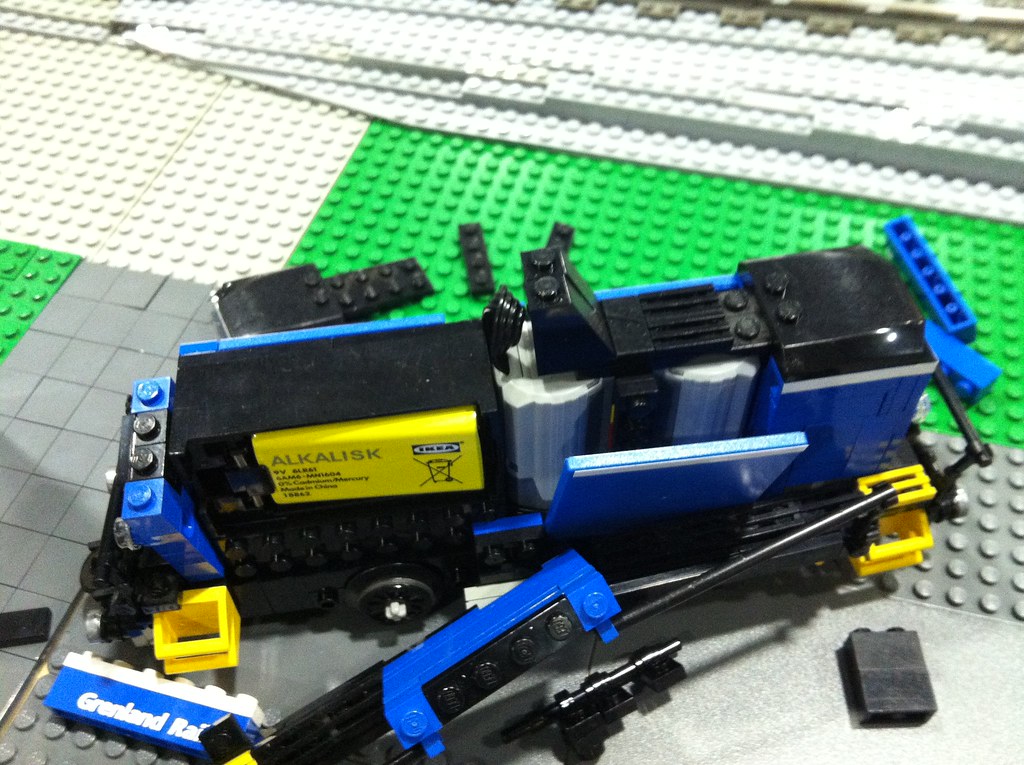
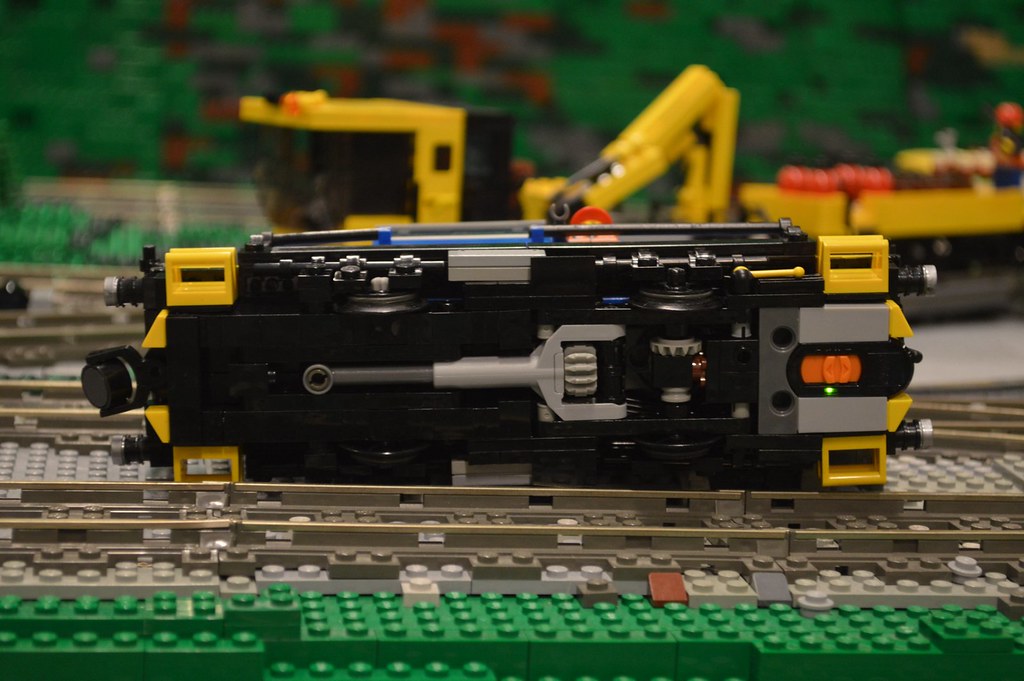
As you can see on my Flickr, my MOC of this Norwegian diesel shunter is containing 2 M motors, one 9V battery and the PF receiver ++, and all this is placed within 4 studs. It is possible, albeit difficult.
MOC:
Based on real life train:
"exploded" view of the trains components:
and finally showing the decoupler mechanism and PF receiver placement:
Happy building!
-
Love it!
Keep these projects coming!
-
Great project!
I see that you have changed plans from the outset?
Fantastic layout

Keep it coming!
-
Nice shed and trains
Keep up the good work!
-
I really like the way you have managed to solve the different angles of the nose as well as the color choice.
It looks amazing through the long curve!
Brick on!
-
I like it!
It looks like you have used BBB wheels on it?
Is it powered?
-
Wonderful!
I like the idea that you use the battery power from the loco to power trackside structures, I want to try this!
Brick on!
-
Hi
I have solved this by modyfying the train by lowering the IR receiver 1 plate, this secures a smoother line on top (this is possible with the current motor setup).
The 2 other changes I also made was the one by securing that the pistons move freely and 1 technic 1x1 bric to prevent the 12 tooth gear from slipping. The train moves slowly and only makes a little jump every now and then....
 .
.I think a part of the problem in curves is that the leading bogie has little or no weight on it and thus will (mis)lead the train at weak points of the track, i.e. curves and at switches. I think that pushing the train is hard for the tender because in curves the pushing is straigth forward and the train wheels in front are not pushed down enough too keep the loco on track. Maybe add some extra weight to the loco in front will help?
-
I used a variant of option 2, i.e. an extra RC motor with the extension/conversion cable in the first loco (just because I had one laying around).
This provides enough pulling power for the whole train.
Option 3 is not viable in a layout with tunnels
Good luck with your choice
-
Impressive, and cool color
Looking forward to seeing it with the surroundings you have planned
-
Looks good
Saw proposals for your technique on your Flickr, which did you end up using?
-
Hi,
for me a nice build like your EMD is the beautiful part of this hobby, regardless of scale
When building trains, one has to consider that the track gauge is not a deciding factor alone. The minifig is about the same height as the track gauge, whereas the average adult human is far longer than 1,43m.
This means that one has to accept that the Lego train wheels are further to the side than in real life (which poses problems for covering the wheels without a bulky look)
Another is the short radius of the Lego train track curve. A long train has problems getting easily around the narrow curves, especially with wagons.
This combined leaves you with the option of making trains close to TLC own selected size, although a lot more detailing can be achieved with 7 or 8-wide trains. When ME tracks with larger radii are readily available this may change. Another factor is also the trackside structures that has to be made larger using the same scale. It is a brick saving activity to build with a smaller scale. Given that the minifig is a little out of proportion to begin with I can imagine that the train fits (if not his head), his hat
Brick on!
An Anatomy of LEGO Train Tracks - a.k.a. Diamond Crossing Design Notes
in LEGO Train Tech
Posted
Thanks for the inspirational article (and numerous posts about the WIP) using SNOT!
In a current project I am using the The Minifig, Neck Bracket with Back Stud (42446) to fill in the gap under a 2x1x1 old window with plate on top to make a 3 stud high (sideways) window with frame in a snotted wall of headlight bricks. I had thought of using the normal brackets, but these are 4 LDU, not 3 as you mention.
In one of the old Lego picture books from the Blue era, there is a roller coaster model pictured, where the curved rails are mounted sideways with 5 studs in between, so in my mind the dirtiest way of obtaining straight stretches is simply mounting tiles on plates sideways, usinge a jumper plate solution to attach to Lego rails. This is not a sturdy solution, but definitely quick
Keep up the good work!