As I tought the complete set 7860 or the single LEGO Signal Light Brick 70022 was too expensive, I made an own MOC LED signal light box.
There is a manual for a quite exact copy on http://www.carlegler.de/signal.htm but the electronics have more electronic parts like diodes in.
I wanted to have minimal effort and costs so I tried to orient myself on the original electronic layout found here: https://www.eurobricks.com/forum/index.php?/forums/topic/170142-12v-signal-repair/
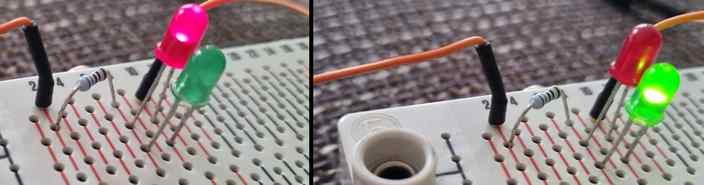
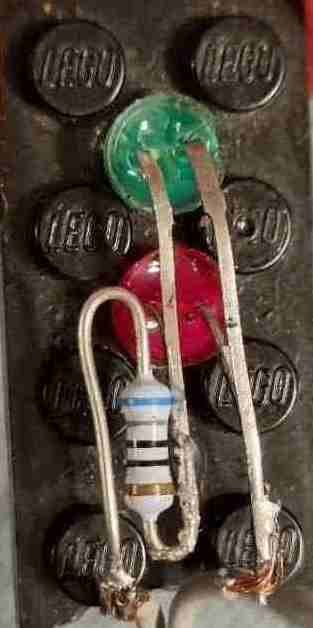
So I soldered 2 LED (5mm) with switched polarities (eg. red long leg soldered on greenshort leg) together and put a resistor with 670R/Ohm (original was 560R/Ohm) on one side. No soldering masterpiece, but working ;)
If you then put 12V on it, only one should light up and when switching polarity only the other one.
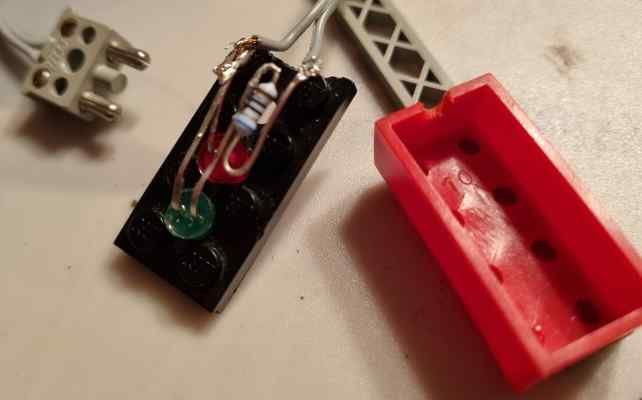
When it worked I cut a broken Lego 12v cable and soldered directly on the resistor and the on the other LED leg.
As housing I took an 1950s Brick 2 x 4 without bottom tubes https://www.bricklink.com/v2/catalog/catalogitem.page?P=bhol04
which has a lot of space inside and drilled a halfhole on the buttom for the wires
and as lid a broken 2x4 part of a 2x6 plate laying around https://www.bricklink.com/v2/catalog/catalogitem.page?P=3795
and drilled 2 holes - for the 5mm LEDs to fit in exactly - in the most upper bottomtubes of the 2x4 plate part - infact I accidentally drilled the wrong one at first, thats why the most lower one is now a "venting hole" if the resistor gets too hot ;) .
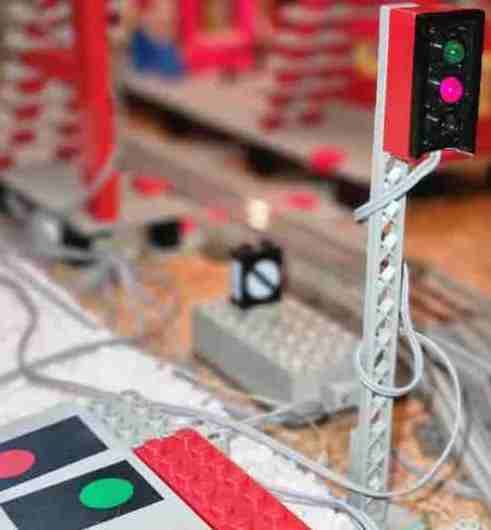
To control the signal I just bought 2x tracks "Conducting Rail Straight with Rail Interruption" (3242bpb01) and one Remote Control Buttons 8 x 10 with Signal Pattern (4707pb02) and used a wire laying around. You could also save some more money on using a "broken" 4707pb02 and try to repair it with https://www.eurobricks.com/forum/index.php?/forums/topic/88329-12v-signal-switch-dissassembly-and-repair/
Now I'm thinking about two photoelectric switchs to switch it to "red" when the other train passes a point on the other track, haven't found a solution for 12V so far, but that is different topic...