

anyUser
-
Content Count
189 -
Joined
-
Last visited
Posts posted by anyUser
-
-
On 12/30/2023 at 2:24 PM, Lego Tom said:Actually, calibration isn't needed unless you are inept at watching things as they operate. LEGO undoubtedly has them to keep people from screwing up - kind of like warnings on bottles to open other end.

Calibration is used by the Lego App to move the boom to pre-set position (e.g. from that extra control panel).
Other than that i would prefer a mode that gives me full control of the winches.Why isn't there a low-level algorithm that frequently checks either for rpm or motor current to detect a stall-state?
Did anybody else found that the tracks freqently slip on the drive wheel? It seems to be omre often if the crane carries a load or if I am driving small turns.
-
Got the front axle in with help from R0Sch's digital model.
Didn't like the colour: neither Bright Blue nor Dark Azur go well with Vibrant Yellow.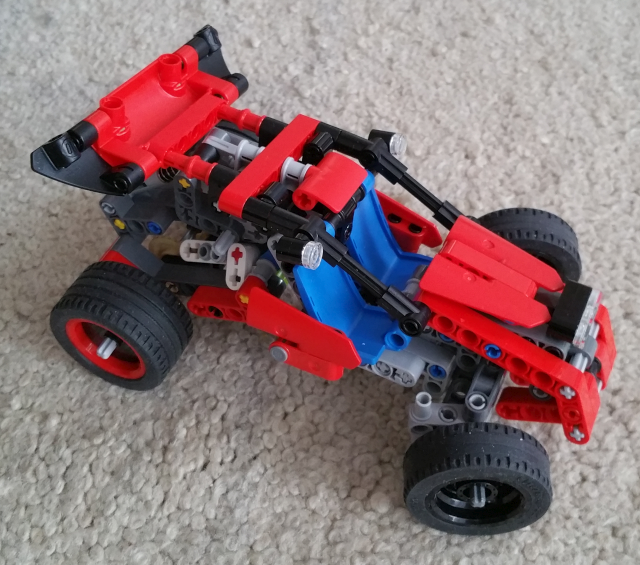
-
Which of the parts are Bright Blue respectively Dark Azur?
Cross block would be new in azure while both rims would be new in blue. -
12 hours ago, Mr Jos said:Those do NOT work well with chains. ... and they skip the gears much more easily.
I cannot confirm this for my build of 42163:
I replaced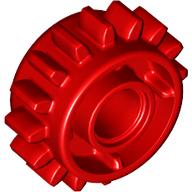 by
by 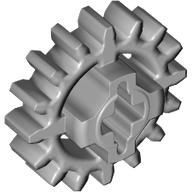 (using https://brickset.com/parts/design-6562) on one side: One track piece less is needed then. By qualitative rating I found that the setup using the red gear has less resistance when pushing the model or moving the track by hand. It also appears to be less 'jerky'.
-
9 hours ago, pow said:Oh, how are you able to remember this set?
Got it as a gift at that time, and although I didn't understand studless technic I was pulled out of my dark ages. Therefore it will be always special.
-
1 hour ago, R0Sch said:1 hour ago, anyUser said:Did you buy this set or re-brick it based on my model?
neither / nor:
I started building with my parts from the two photos in the first posting earlier today.
While I was searching for my track pieces I noted your rendering of your digital model. I have used that to smooth out the inner structure (yellow 3x5 beam) and get a better idea for the slanted motor 'hood'.The bottom layer is and probably remains unfinished:
maximum elevation of shield:

-
8 hours ago, pow said:I claim that TLG copied from me
There's 8226 from last millenium to compete with.
-
Probably a nice source of yellow connectors:

-
28 minutes ago, MP LEGO Technic creations said:Can I ask, whether someone knows if it's possible to connect these two parts together (in a working way, to create a half-studless turntable)?
I would have never thought checking it until now & (I didn't check the part numbers)
These would fit & work:
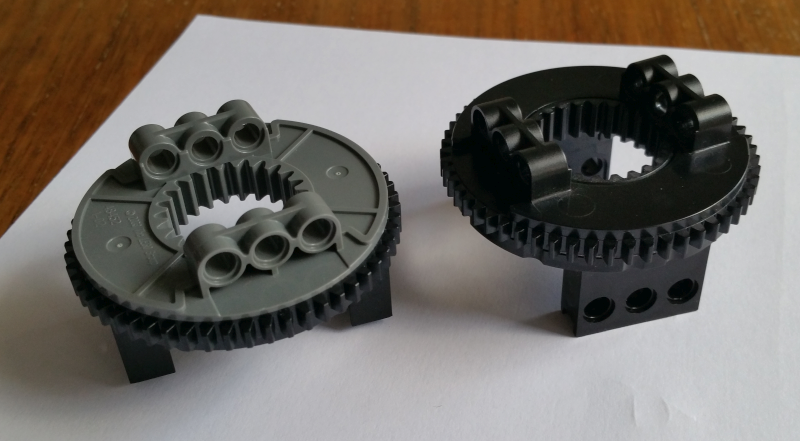
The one with the old/square bottom has more friction than the other one.
-
6 hours ago, Lego Tom said:There are .8mm cotton cords listed on Amazon: .8mm waxed cotton cord
I have seen these. I've never had any of these in my hands but I expect them to be rather stiff because of the wax coating.Also, you want the gems on your necklace to appear in an nice curve. Flexibility would be desired for this cord.
Has anyone tried fishing rope?
-
I think the original, thin black cord that has been used for a long time is made of cotton. It's diameter is less than 1 mm.
I haven't found something similar yet.A few years ago I bought two spools of braided cord from a vendor / maker:
a) 0.4 mm aramid cord in beige (EAN 4046882073011)
b) 1.0 mm Dyneema (= polypropylene) in dark silver greyThe latter one (b) is too stiff to run properly through typical setup of technic cranes. It somewhat works when you put load on it.
The aramid cord (a) works much better but still is a little stiff. You cannot put a
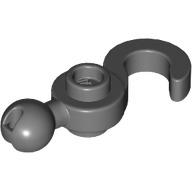 on and expect to unreel properly. The big metal hook is much better suited.
Images:
-
OK - you are doing the installation check, not the calibration (which will determine the end-stop on the actuators).
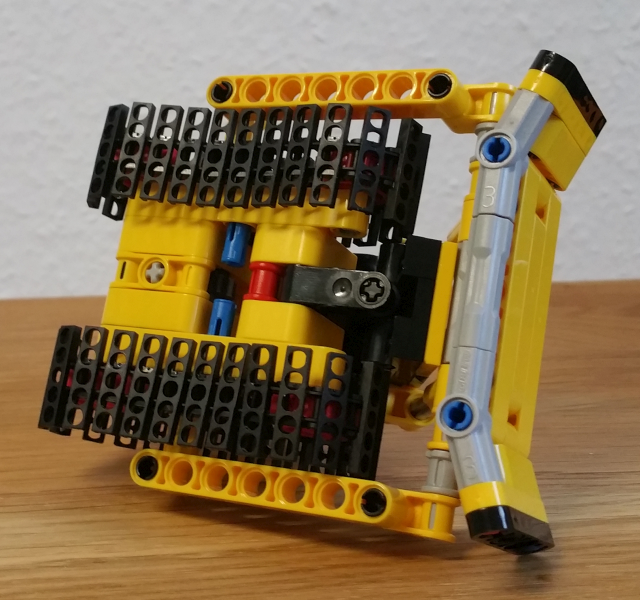
I tried to compare with my bulldozer with is fully build build and therefore difficult to observe.For both the "cogwheel" and the "gearbox" test first the gear selection motor is activated. After some (short) time the second motor will also be started. There are some small back-and-forth rotation before it is activated for longer time.
From your videos I can recognize:
- The gear selector is running longer time than with my setup
- There seems to be no action from the second = drive motorYou should check:
(If the motor is not recognised "found" the app should report at the beginning)- Could it be that the calbles of the two motors for the functions are swapped over at the battery box?
- Is it possible that a 'drive' gear is actually connected to the gear selector?
I don't have any more advice for now.
-
(There is a strict size limit for uploading pictures to Eurobricks. However, you can upload bigger photos elsewhere and paste a link into your posting.)
I just checked the calibration sequence:
first action is on the gear selector.
If this can be set to the expected position the drive motor (= constant rotation) is activated.
I assume you don't get this far? -
Hello,
the relative orientation of the orange gear selector and the stop (the orange 2L beam with "o" and "x" hole on the same axle to the right) seem to be OK.
Can you verify that the second dark grey shifter that is located "above" / at 90° is in neutral = middle position?
First action of the control software is always to activate the gear selecting motor. You should get a short "whining" tone until the end stop is reached. A movement can probably seen if the gearbox is viewed from the angle shown in the photos.
I assume that you have verified that the two motors of this gearbox (selector and drive) are connected to theier corresponding ports?
-
3 hours ago, Lego Tom said:Is anyone contemplating re-gearing the turntable to slow it down to a more realistic speed?
I think It should be feasible to replace the 12:20 gear from step 9 by a 8:24 combination. Then you'll have to leave out the red 1L beams in step 10 o avoid collision with the new gear(s). I would replace the 5.5L axles by 6L ones (check step 73) and use a (full) bushing to adjust the height of the 24 tooth gear above.
This would almost have the angular speed (according to my calculation).
-
11 hours ago, NathanR said:.. When I build a ring using 4L axles and the #3 axle connector (157.5 degrees), ... can I safely attach them to a single baseplate without stressing the elements?
Don't have 1x1 bricks with axle hole at hand, used 2x1 with two pin holes instead:
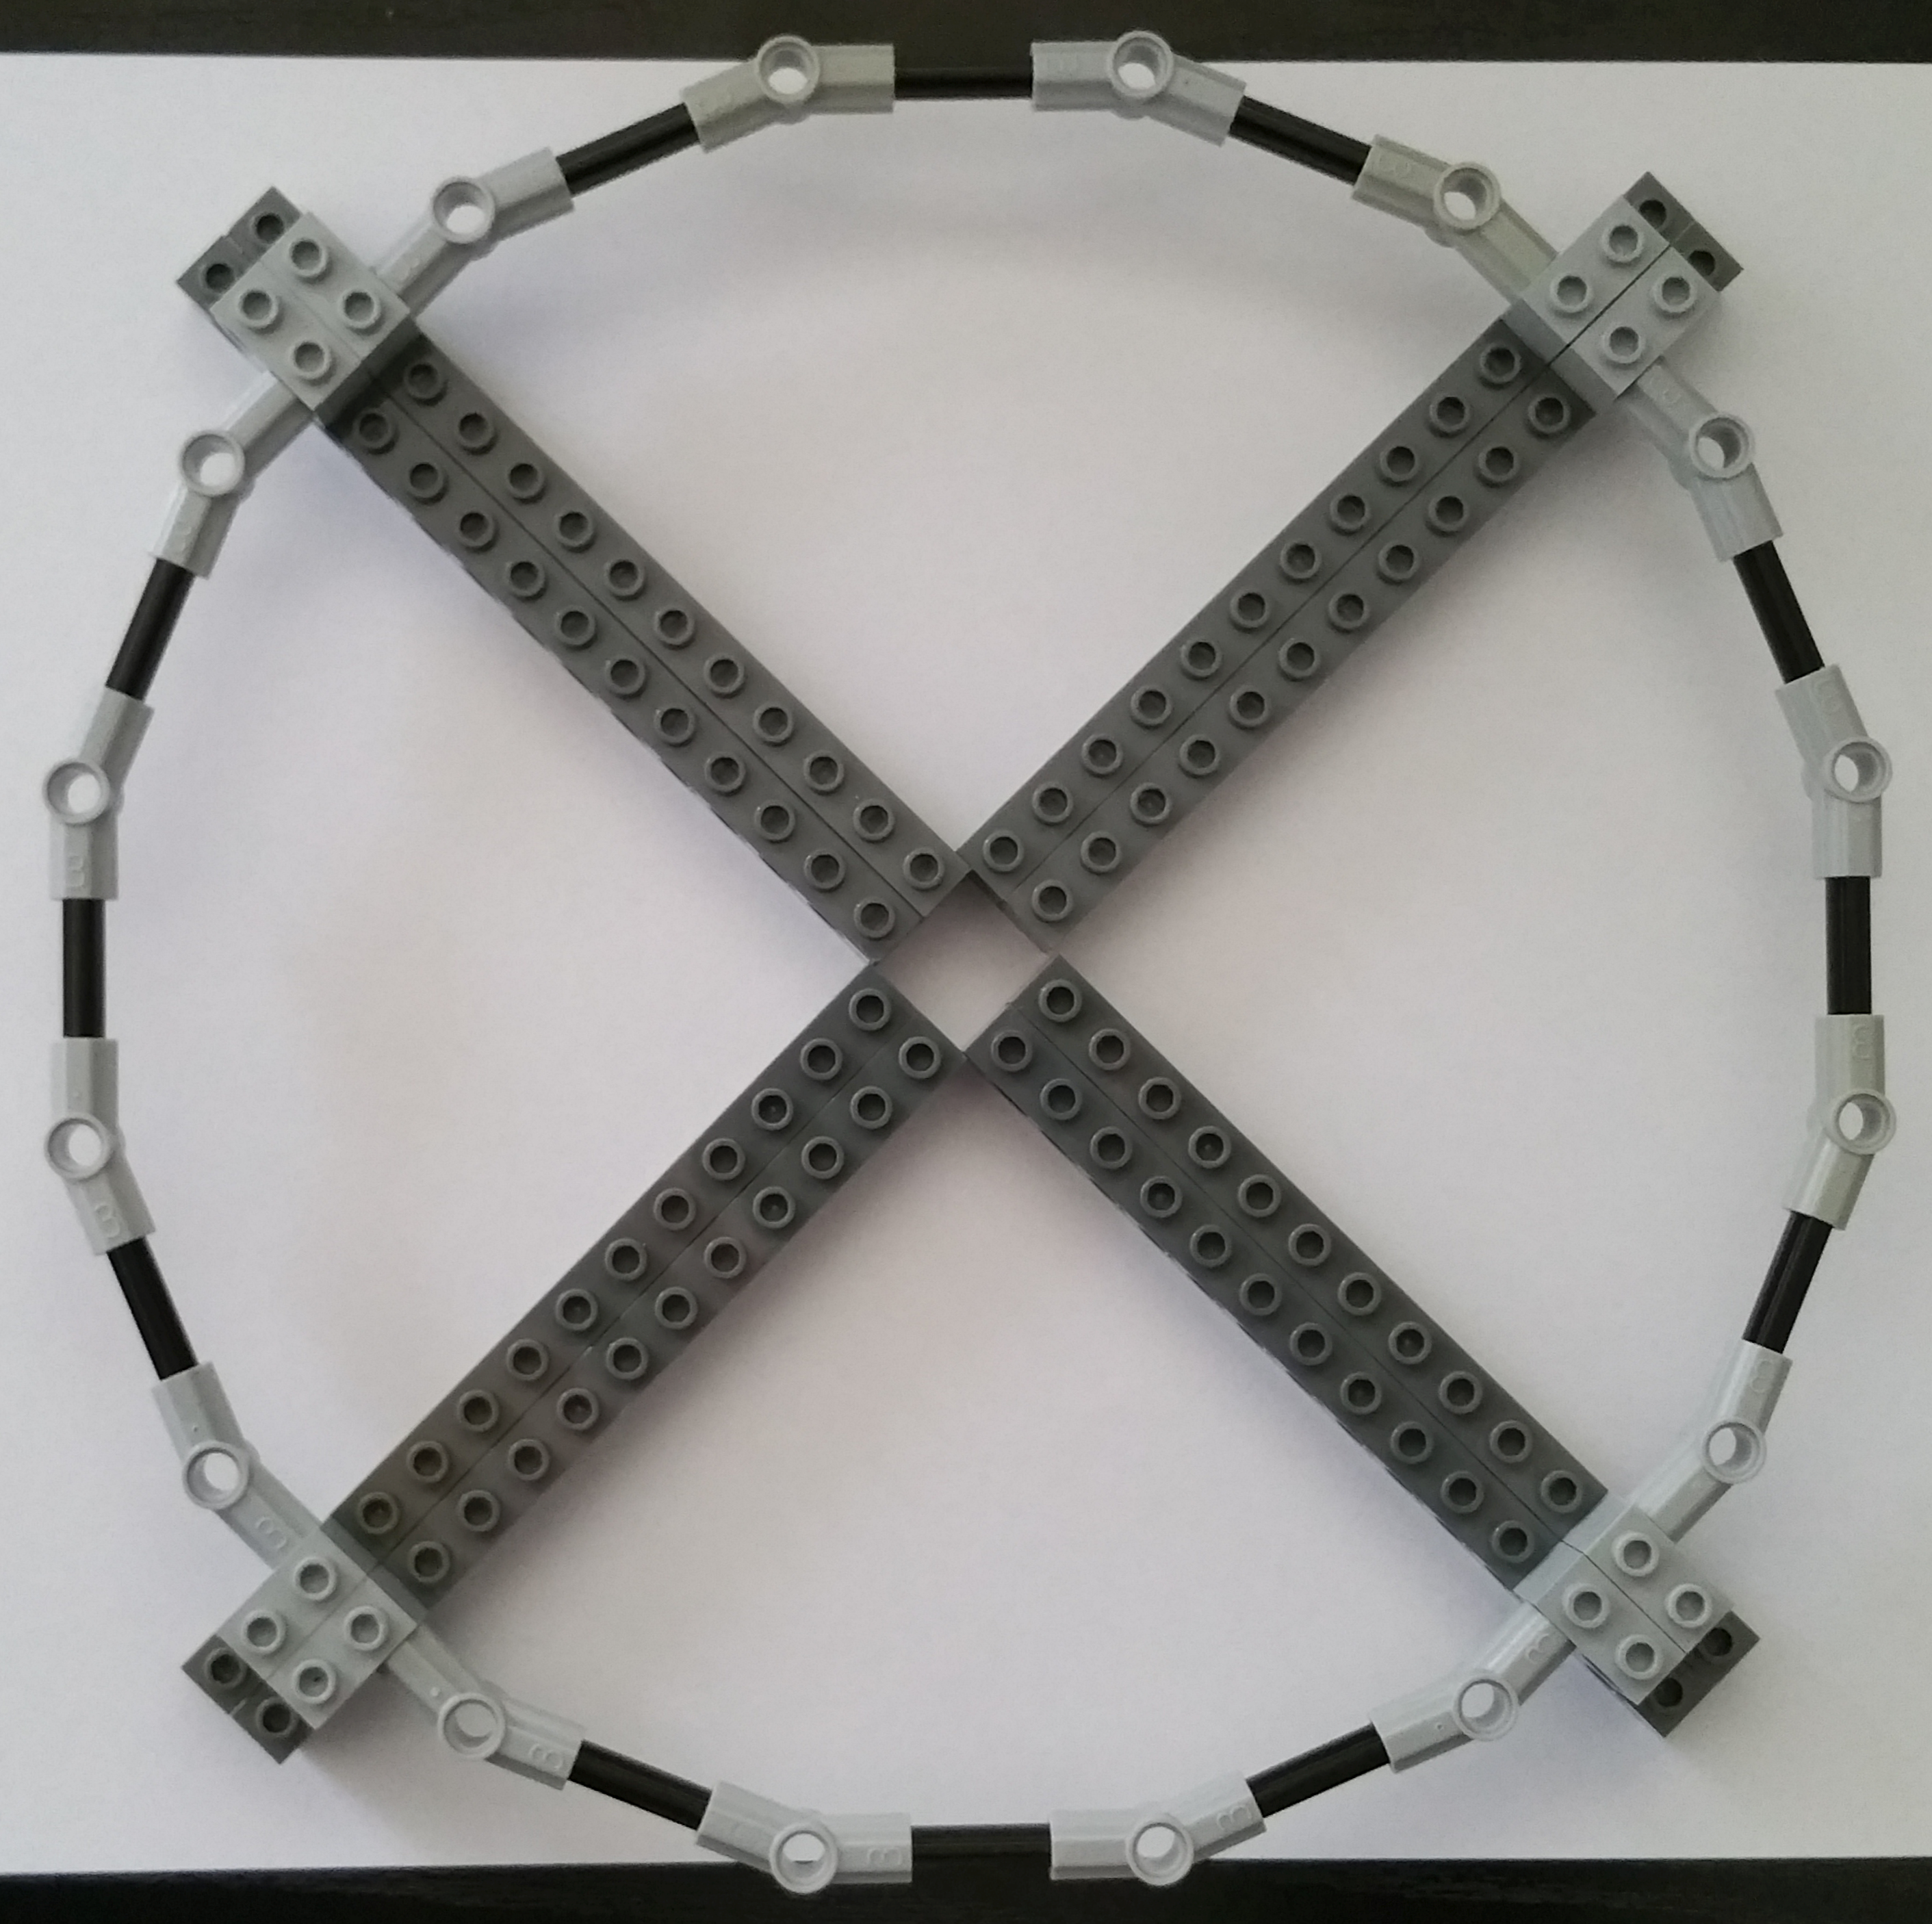
I'd say there is (some) strain.
-
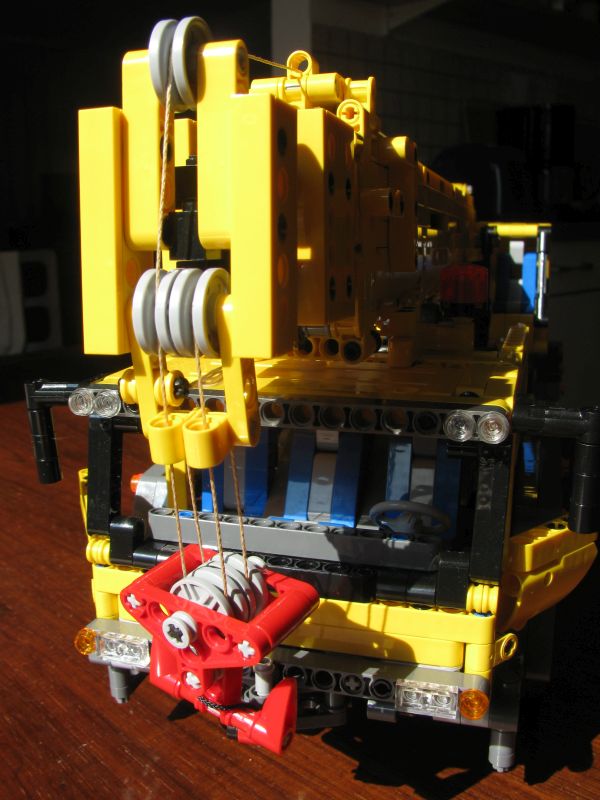
18 hours ago, aminnich said:Why 2 spools for the hook? Does it not work like a typical block and hook setup?
This is the first official crane that uses 4 wheels in a block and tackle. Could it be to give out and pull in the string faster?
-
On 6/25/2023 at 11:12 AM, Jim said:Pullback Motor is permitted.
Hello Jim,
could you clearify: what about wind-up motors? Are these 'allowed' in this contest?
Thanks
-
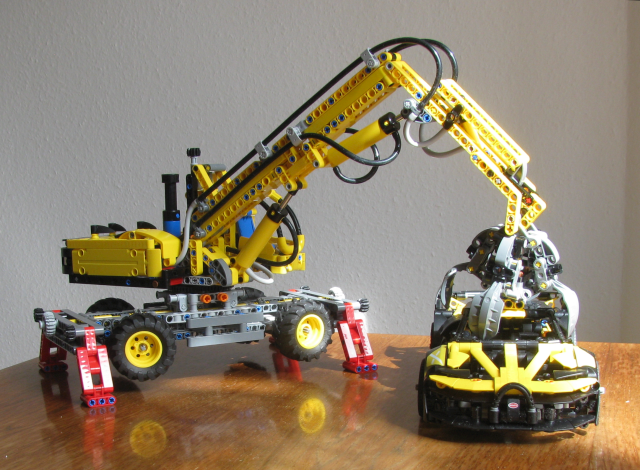
3 hours ago, Polarlicht said:No manual pneumatic set needs one (: air tank)!
I disagree:
I rate the air tank useful at models where you would trigger more than one pneumatic at the same time. Scooping with the 8459 / 8464 / 8439 front loader is probably the best example. Other would be pneumatic excavators. I have upgraded the Volvo with a single cylinder compressor plus tank. This performs better that the comporesor-only setup of the 42080 Harvester.I agree that two airtanks on the 8462 Tow Truck is too much. One would have been sufficient because the pneumatic functions on that model don't require that much air. Plus they are mostly 'sequential' e.g. without need to operate them at the same time. However, the double tank makes this set a nice parts pack.
-
2: 10
1: 6
3: 4
5: 3
6: 2
10: 1
-
4 hours ago, Zerobricks said:I think it should fit the curvature of the 3x13 curved panel.
It's only 9M wide. (From Pythagoras) the long side would measure < 10M. How would that match?
-
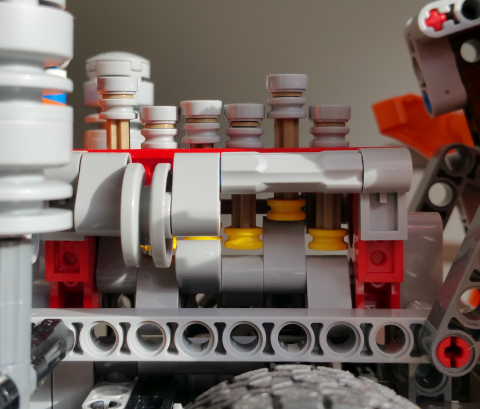
10 hours ago, mortenm said:Am I the only one having problems with the fake engine jamming and eventually falls apart?
No.
My guess would be that the sharp edge of the brown axles do not slide very well.
6 hours ago, schraubedrin said:Solved it by pushing the bushings further on the axles, thus reducing the stroke of the "cylinders".
I found that using a bushing on the lower end has better slide. Thus my solution is using 3.2L axles with the benefit of more cylinder-like look:
-
On 3/4/2023 at 3:49 PM, anyUser said:On 6/10/2022 at 10:36 PM, pleegwat said:I believe that I found a simple solution that appears to be stable enough to allow to play with the model:
It'll also work with the offroad tyres (56x26):
-
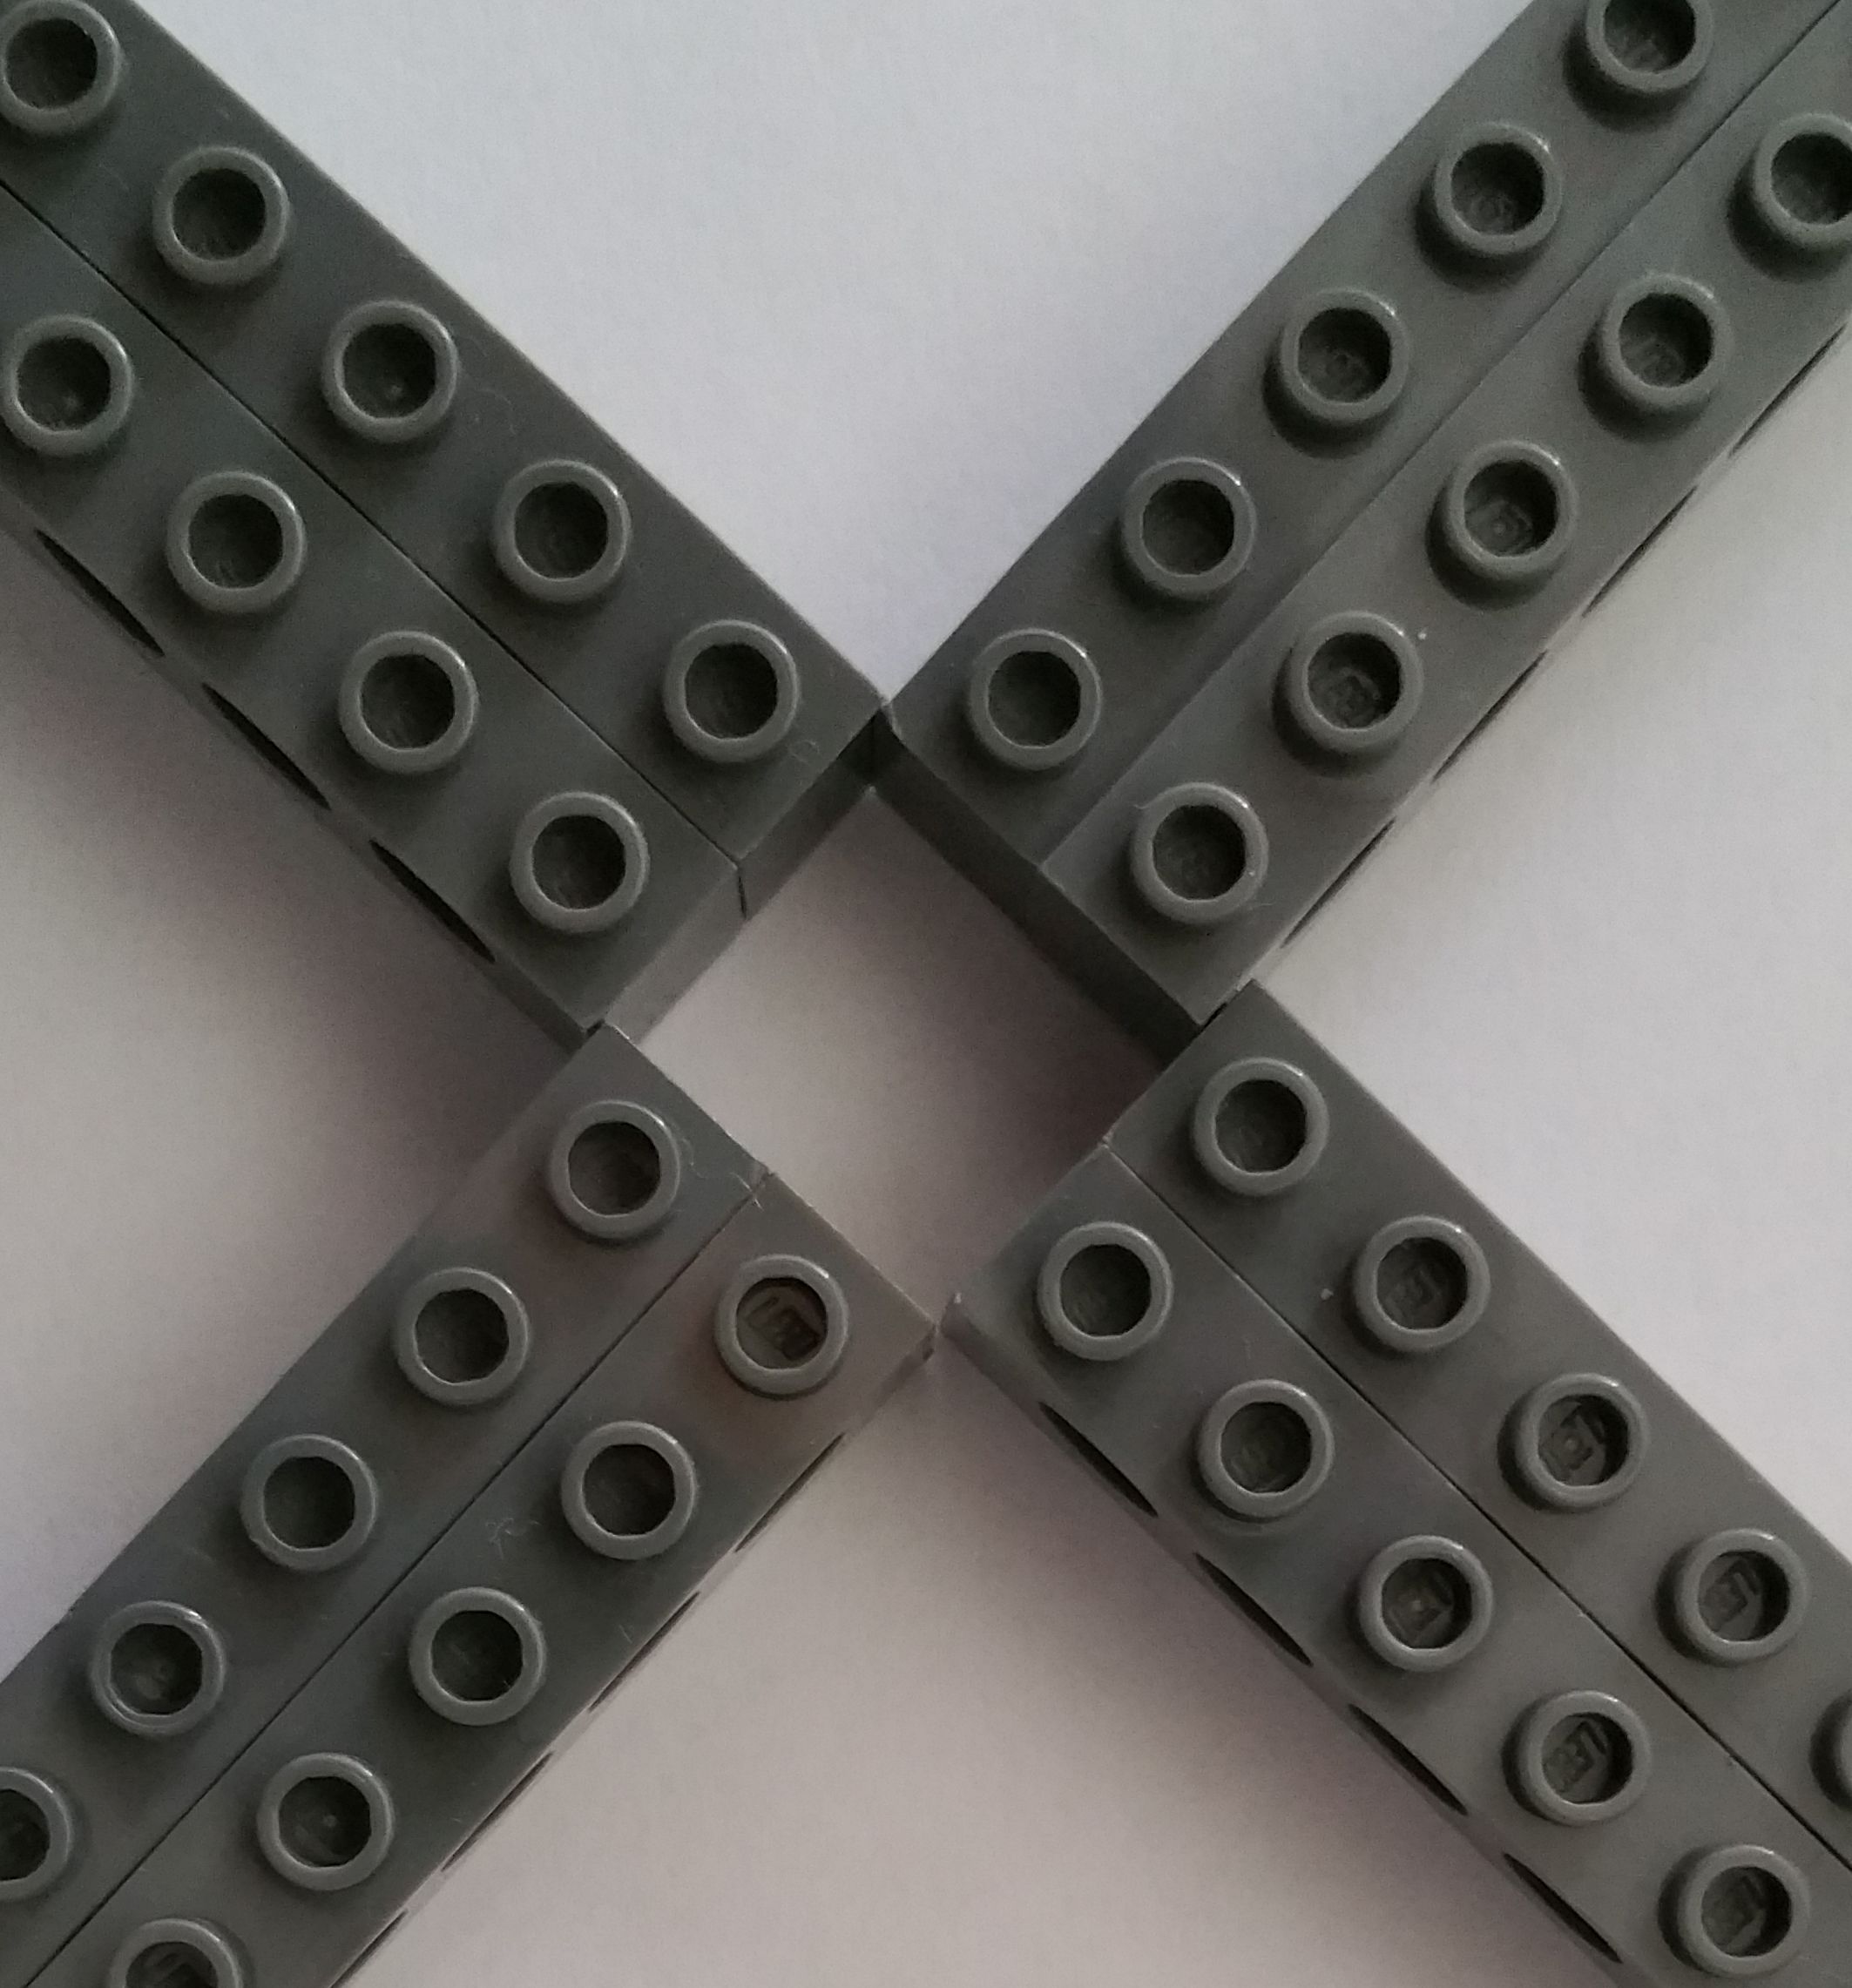
10 hours ago, Mikdun said:Would be interesting to hear weather the other two halves make loose connection - they should.
I did a quick check with two of my parts
On 3/26/2023 at 10:45 PM, anyUser said: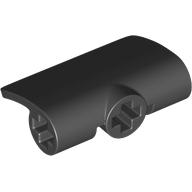 (obtained from Bricks & Pieces) and
 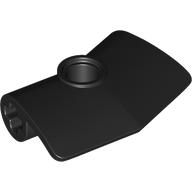 from rear spoiler of 42151
Test setup: Attach each part on the end of a 5L axle (taken from my parts, so special selection) hold each piece with a hand and pull in the direction of the axle:
Which part will come off from the axle?
I switched over sides of the axle and, because first result appeared to be biased, also changed between left and right hand.
Results were unconclusive.
42157 - Skidder John Deere 948L-II
in LEGO Technic, Mindstorms, Model Team and Scale Modeling
Posted
I did a check using a RAL colour fan as reference:
(Dark) green brick colour (from set 42157) doesn't match any of the "pure" colours shown there. Closest ones are RAL 6032 (Signal green) respectively RAL 6024 (Traffic green)
The basic green on the sticker set of 42157 actually is comprised of thin lines in two different shades of green. I did not take any effort to resolve them. The overall impression again is not a single coulour. It could be best described as RAL 6029 (Mint green) respectively RAL 6001 (Emerald green).
Interestingly, John Deere-green also is not a pure colour in RAL scheme. It has been attributed as RAL 6002 (Leaf green) or RAL 6010 (Grass green). [RAL 6032 is also mentioned but I could find that in any second source).
Does anyone with any two of 42136, 42157, 42168 can compare if the basic green of the stickers is of the same hue?
Remark: I compared colour under artificial light: a) fluorescent lamp b) LED warm tone